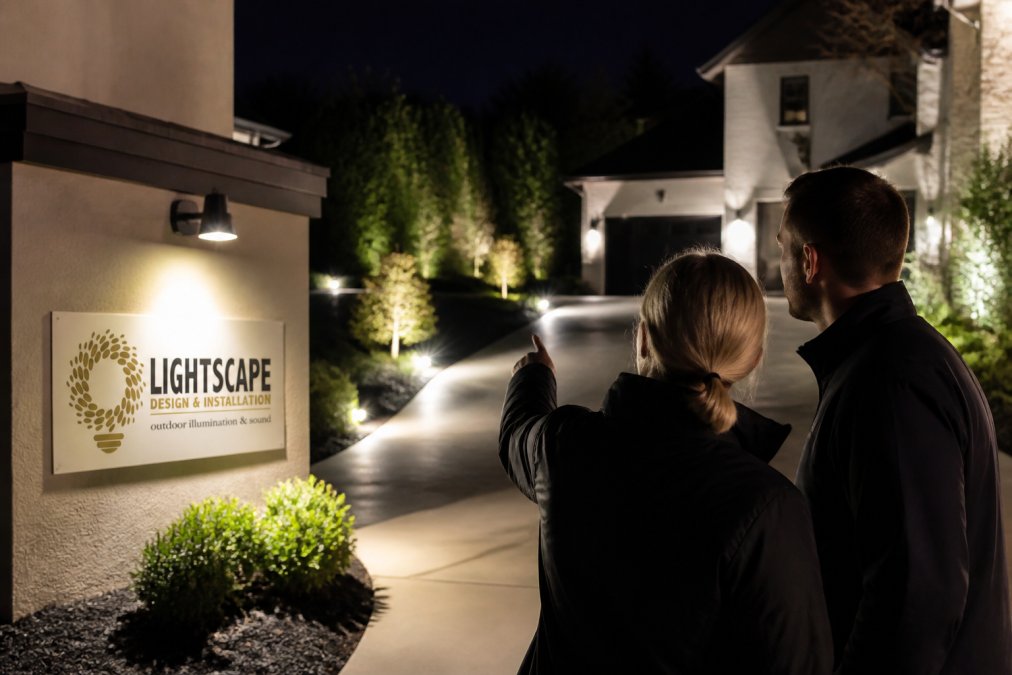
 how-to
Avoiding Harsh Outdoor Lighting Glare: A 2026 How-To Guide
Table of Contents
- Why Shielding and Shrouding Stop Glare Before It Starts
- How to Choose Low-Glare Outdoor Fixtures
- Aiming and Directional Control to Reduce Glare
- Minimizing Light Trespass and Spillover in Landscape Lighting
- Smart Controls and Timers for Glare Reduction
- Glare, Circadian Health, and Nighttime Visibility
- Common Glare Mistakes and How to Fix Them
- Frequently Asked Questions
Last Updated: September 27, 2026
Why Shielding and Shrouding Stop Glare Before It Starts
Glare from outdoor lighting is light aimed where your eyes can see the source, not the surface it was meant to light. The fix starts inside the fixture, not at the switch. A shielded or shrouded lens blocks that direct line of sight, so the light lands on the wall or path while the source stays hidden. This guide from Lightscape Design & Installation breaks down how to stop outdoor lighting glare at the fixture level, then how to aim, control, and tune it so your property looks intentional after dark.
Shielded and Shrouded Lenses Explained
A shield is a solid, opaque barrier that blocks light from leaving the fixture at high angles. A shroud is a deep, extended housing that recesses the lamp inside the fixture body.
- Shields block upward and sideways light
- Shrouds recess the source deep in the housing
- Together, they force light downward onto the target
- The result is light you see on a surface, not in your eyes
Retrofitting Shields on Existing Fixtures
You do not always need new fixtures. Many existing systems can be retrofitted with shields, louvers, or glare guards.
If no accessory exists, a few options remain:
- Add a glued-on or clip-on glare shield
- Replace the lamp with a lower-output or narrower-beam version
- Swap the whole head for a shielded model on the same stake
How to Choose Low-Glare Outdoor Fixtures
The best low-glare fixtures share three traits: a recessed or shielded lens, a beam angle matched to the target, and a color temperature that reads warm rather than harsh. Get those three right and most glare problems disappear before installation.
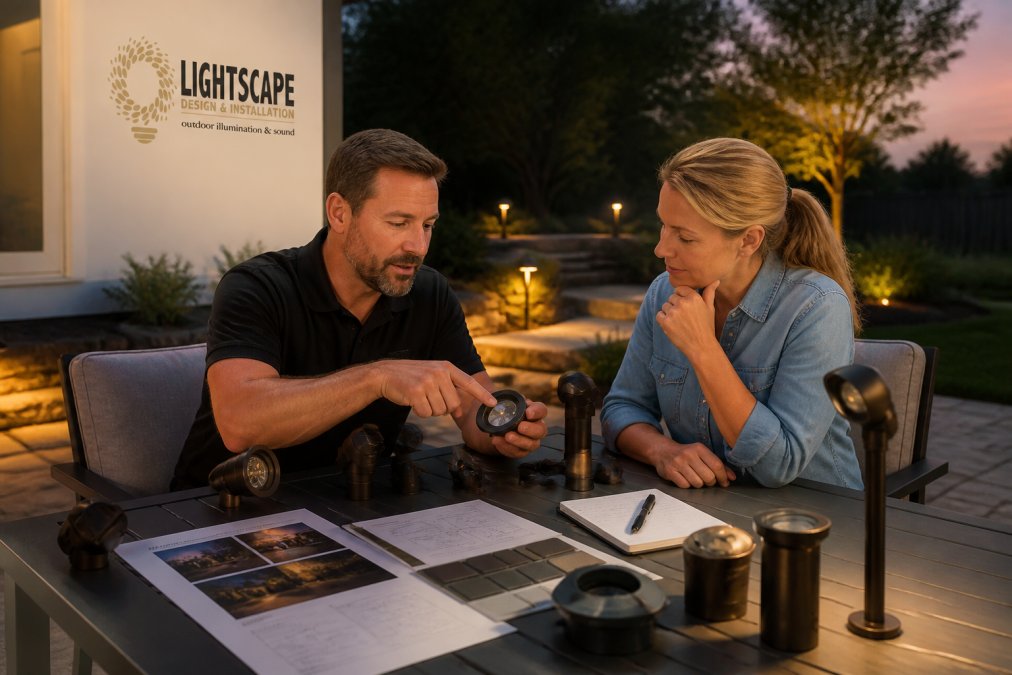
Color Temperature, Lumens, and Beam Angle
Color temperature is measured in Kelvin (K). Lower numbers look warmer and softer. Higher numbers look cooler and harsher. For most residential landscape lighting, 2700K to 3000K reads warm and welcoming. Anything above 4000K starts to look like a parking lot.
| Factor | Low-Glare Choice | High-Glare Choice |
|---|---|---|
| Color temperature | 2700K-3000K | 4000K and up |
| Lumens | Matched to task | Maximum output |
| Beam angle | Narrow, targeted | Wide, unfocused |
| Lens | Shielded or shrouded | Exposed source |
Aiming and Directional Control to Reduce Glare
Proper aiming is free and fixes more glare than any product upgrade. Point the fixture at the surface you want to light, not at the viewer.
A few aiming rules that hold up in practice:
- Aim away from seating areas and windows
- Keep the source below the sightline of anyone standing or seated
- Cross-light instead of front-lighting to reduce hotspots
- Re-aim after every season change, since plants grow
Minimizing Light Trespass and Spillover in Landscape Lighting
Light trespass is light that crosses your property line onto a neighbor's. Spillover is stray light that lands where you did not intend it, even on your own property. Both are glare problems in disguise.
- Use shields and louvers on fixtures near property lines
- Lower the lumen output on fixtures facing the street
- Add a beam snoot to narrow the spread
- Angle fixtures so the edge of the beam stops at the target
Smart Controls and Timers for Glare Reduction
Smart controls reduce glare in two distinct ways: they lower output when full brightness is not needed, and they turn the system off when no one is using the space. Most guides stop there. The technical detail that actually matters is how those two behaviors are triggered, because a poorly configured schedule can leave a system at full brightness all night, and a poorly placed motion sensor can trigger a blinding full-output scene every time a cat walks past.
Dimming Curves, Not Just Dimming
A dimmer set to 50% at 10 p.m. cuts glare dramatically without changing the design. But the shape of the dimming schedule matters as much as the endpoint.
- Step dimming drops the system to a fixed lower level at a set time. Simple, predictable, and easy to explain to a household. The downside is that the transition is abrupt and the lower level is the same for every zone.
- Ramped dimming gradually lowers output over a window, for example, from 100% at sunset to 40% by 11 p.m. This matches how the eye adapts to darkness and avoids the jarring drop that step dimming produces.
- Zone-based dimming treats the patio, the path, and the facade as separate zones with separate schedules. This is the single most useful feature for glare reduction, because the zones that glare most (path lights near seating, uplights near windows) are rarely the zones that need to stay bright for security.
Astronomical Timers vs. Fixed Schedules
A fixed schedule that turns lights on at 6 p.m. and off at midnight is wrong for most of the year. In summer, 6 p.m. is full daylight. In winter, it is already dark. The result is either wasted light or a system that comes on too late.
Motion Sensors Without the Blinding Trigger
The standard motion-sensor setup, full brightness the instant motion is detected, is one of the worst glare offenders in a residential system. A guest walking to the door gets hit with a wall of light. A better configuration:
- Set the triggered scene to a moderate level, not 100%. A path or entry zone that jumps to 60% is enough to see by and far less harsh than full output.
- Use a hold time long enough to be useful. Short hold times cause the light to cycle on and off, which is more distracting than a steady lower level.
- Layer the trigger. Have motion raise the path zone first, then the entry zone a moment later, so the eye is not hit by everything at once.
- Keep security zones separate. A security flood that triggers at full output is appropriate; a decorative uplight that does the same is not.
Integration With a Smart Hub
Pairing the lighting controller with a smart hub unlocks the glare-reduction behaviors that standalone timers cannot do:
- Door and window triggers. Dim the patio zone when a door opens, so anyone stepping outside is not met with full brightness.
- Presence-based scenes. Use phone geofencing or a hub presence state to switch to a low overnight scene when the household is home and a different scene when away.
- Voice and app overrides. A quick way to drop the whole system to a low scene without walking to a controller.
- Scheduled scene changes. A "dinner" scene, a "quiet evening" scene, and an "overnight" scene, each with its own output levels per zone.
What to Look For in a Controller
- App-based dimming by zone, not just on/off
- Astronomical timers that follow sunset and sunrise
- Scene control for parties, quiet evenings, and security
- Motion triggers with adjustable output levels and hold times
- Compatibility with a hub you already use, so you are not adding a second app
Glare, Circadian Health, and Nighttime Visibility
Glare does more than look bad. It hurts how well you can see, and it can affect sleep.
Common Glare Mistakes and How to Fix Them
Most glare problems trace back to a handful of repeat mistakes. Here is how to spot and fix each one.
| Mistake | Fix | Impact |
|---|---|---|
| Bright, unshielded fixtures | Add shields or swap to shrouded models | Removes direct source from view |
| Cool color temperature | Switch to 2700K-3000K | Warmer, softer look |
| Over-lighting | Reduce lumens, add dimming | Cuts spill and hotspots |
| Aiming at the viewer | Re-aim at the target surface | Eliminates eyeline glare |
| No timer or schedule | Add astronomical timer | Stops overnight trespass |
Frequently Asked Questions
How do I reduce glare in outdoor lighting?
Start with shielded or shrouded fixtures that hide the light source from direct view, then aim each fixture downward at the target surface rather than outward. Choose warmer color temperatures around 2700K to 3000K, which feel less harsh than cooler whites. Add diffusers or honeycomb louvers to soften the beam, and use a timer or smart control to dim output after peak hours. These steps cut outdoor lighting glare without sacrificing nighttime visibility.
What are the most common outdoor lighting mistakes that cause glare?
The biggest culprits are unshielded fixtures that expose the LED to view, aiming lights horizontally instead of downward, and using too many lumens for the space. Overly cool color temperatures above 4000K also read as harsh. Placing fixtures too close to walkways or windows worsens light spillover. Fixing these usually means swapping to shielded housings, adjusting aim, and dialing brightness down to what the surface actually needs.
How do light shields help improve outdoor lighting quality?
Light shields block the direct line of sight to the bulb or LED, so you see the illuminated surface rather than the source. That single change removes most of the discomfort glare people notice first. Shields also narrow the beam, which reduces light trespass onto neighboring properties and keeps the glow where you aimed it. Many existing fixtures accept add-on shields or shrouds, so you can retrofit rather than replace.
Why is light spillover a problem in landscape design?
Spillover throws light where it isn't wanted: onto windows, neighboring yards, and the night sky. It washes out the contrast that makes landscape lighting look intentional, and it can annoy neighbors enough to prompt complaints. It also wastes energy because you're paying to illuminate surfaces you never meant to light. Directional control, proper beam angles, and shielded fixtures keep the output on the target and off everything else.
Harsh outdoor lighting glare is a design problem, and it has a design fix. Lightscape Design & Installation handles that fix end to end, from complimentary on-site consultation to final aiming. Our USA-made fixtures, integrated LED technology with no bulbs to replace, and 20-year warranty mean the system stays glare-free for the long haul. Call to schedule a consultation and see your property the way it was meant to look after dark.