 how-to
7 Steps to Light Modern Home Exteriors Beautifully
Last Updated: November 7, 2026
Quick Summary
To light modern home exteriors, build a layered plan with ambient, task, and accent light, then hide the fixtures so the glow seems to come from nowhere. Keep beams narrow on facades, uplight columns and trees, and hold color temperature at 2700K to 3000K warm white.
- Mount path lights 18 to 24 inches above grade so light lands on the walkway, not in eyes.
- Set facade uplights 12 to 24 inches from the wall with a 10- to 25-degree beam.
- Space path lights every 6 to 10 feet so pools of light overlap slightly.
- Use downlighting from eaves for soft washes and uplights on two or three key features.
- Shield sources, aim beams at walls and trunks, and keep light on your own property.
Table of Contents
- Start With a Layered Lighting Plan for Modern Home Exteriors
- Your Outdoor Lighting Placement Guide for Clean Lines and Balance
- Where to Place Uplighting on House Facades and Trees
- Uplighting vs Downlighting Exterior House: Which Does What
- Landscape Lighting Ideas for Front of House Curb Appeal
- Reduce Glare and Control Light Spill on Modern Exteriors
- Choose Fixtures and Controls Built for Modern Architecture
- Book a Nighttime Lighting Demo for Your Home
- Frequently Asked Questions
Start With a Layered Lighting Plan for Modern Home Exteriors
Learning how to light modern home exteriors starts with one idea: layer your light. Modern architecture has clean lines, flat planes, and large windows. Harsh light destroys that look. Soft, layered light reveals it.
At Lightscape Design & Installation, we build every plan around three layers. Each one does a different job.
Ambient, Task, and Accent Layers
Ambient lighting is the soft base. It washes walls and entries so nothing feels dark or unsafe. Task lighting covers paths, steps, and driveways so people can walk without tripping. Accent lighting is the drama. It grazes stone, highlights gables, and uplights trees.
Skip one layer and the whole system feels off. Too much ambient and the house looks flat. Too much accent and it looks theatrical.
Map Your Facade Before You Buy a Fixture
Walk your property at night with a notepad. Mark the features you want to show off: gables, columns, stone walls, trees, walkways. Then decide which layer each feature needs.
This step saves money. You buy fixtures for a plan, not a guess. For more detail on layering and fixture placement, see our residential architectural lighting design tips.
Your Outdoor Lighting Placement Guide for Clean Lines and Balance
An outdoor lighting placement guide should follow one rule: light the architecture, not the air. Modern homes look best when fixtures stay hidden and the glow seems to come from nowhere. The difference between a clean modern facade and a messy one usually comes down to measurable choices: mounting height, beam angle, spacing, and color temperature. Here are general planning ranges that lighting designers commonly reference, so you can think through placement with numbers instead of guesswork.
Mounting Heights and Beam Angles That Fit Modern Lines
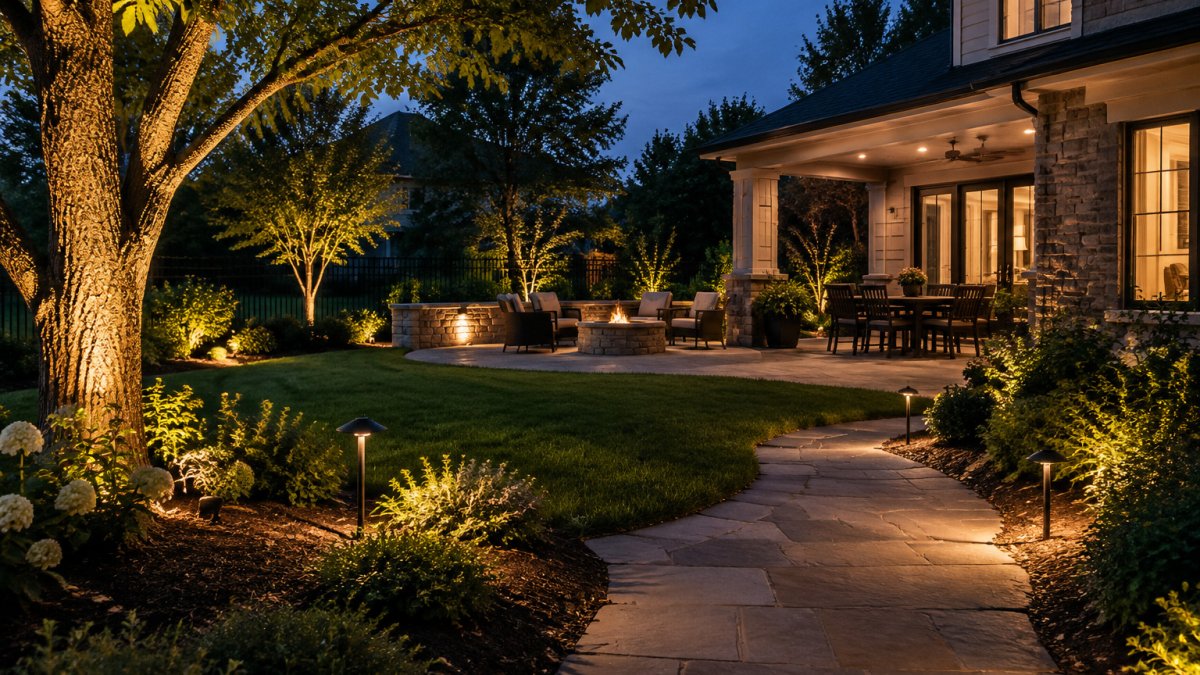
- Path and step lights: Mount path fixtures roughly 18 to 24 inches above grade so the light pool lands on the walkway, not in a passerby's eyes. Step lights sit 6 to 12 inches above each tread, aimed slightly downward.
- Wall grazers and washers: Place fixtures 6 to 12 inches from the wall and 12 to 18 inches above grade. A narrow 10- to 15-degree beam grazes texture; a wider 30- to 45-degree beam washes a flat plane.
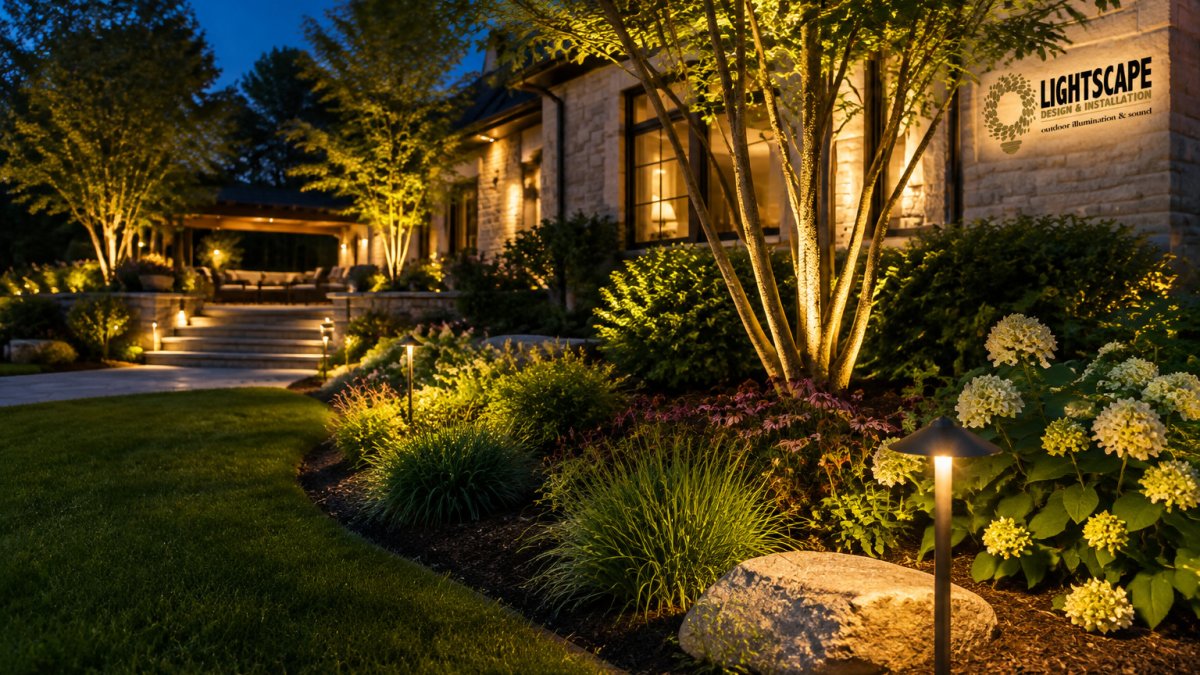
- Facade uplights: Set uplights 12 to 24 inches from the wall for columns and gables, and use a 10- to 25-degree beam so light climbs the feature without spilling onto the roof or into windows.
- Tree uplights: Position the fixture one-third to one-half the canopy radius from the trunk, aimed up into the branches with a 15- to 30-degree beam. The trunk stays dark and the canopy glows.
- Soffit downlights: Mount 8 to 10 feet above the surface below, spaced so pools overlap by about 30 percent for even coverage without hot spots.
Spacing, Aiming, and Color Temperature
- Space path lights so pools of light overlap slightly, usually every 6 to 10 feet along a walkway.
- Keep uplights close to the wall or trunk for a tight beam, and aim fixtures so the source stays out of sight from the street.
- Point beams across texture, not straight up into nothing.
- Keep color temperature consistent at around 2700K to 3000K warm white. Mixed color temperatures read as blue and cold on modern stone and glass.
Balance matters as much as spacing. If one side of the facade glows and the other sits dark, the house looks lopsided. Step back to the curb and check both sides. Watch out: aiming a wide beam at a flat modern wall flattens the texture and throws light onto the roof, which is the most common placement mistake on clean-lined homes.
At Lightscape Design & Installation, we customize wattages and beam spreads so each fixture is tuned to your specific facade, stone, and tree canopy.
Where to Place Uplighting on House Facades and Trees
Where to place uplighting on a house comes down to two targets: vertical features and trees. Uplight columns, gables, and stone chimneys to add height. Uplight trees to frame the home and soften its edges.
Keep beams narrow on the facade. A wide beam flattens texture and spills onto the roof. A tight beam grazes the surface and shows the grain of the stone or brick.
Uplighting Trees Without Overpowering the House
Trees need more light than walls, but placement matters more than power. Set the fixture a short distance from the trunk and aim up into the canopy. The trunk stays dark and the branches glow.
Watch the balance between tree and house. A bright tree can pull attention away from the entry. For beam angles, lumen output, and color temperature guidance, read our guide to the best landscape lighting for trees.
Uplighting vs Downlighting Exterior House: Which Does What
Uplighting and downlighting exterior house design serve opposite roles. Uplighting sends light up to show height and texture. Downlighting sends light down from eaves, soffits, or trees to create soft pools below.
Here is how the two compare:
| Feature | Uplighting | Downlighting |
|---|---|---|
| Direction | Ground to sky | Above to ground |
| Best for | Facades, trees, columns | Entries, patios, walkways |
| Mood | Dramatic, tall | Soft, even |
| Watch out for | Glare at eye level | Dark bands on walls |
Combining Both for Depth and Softness
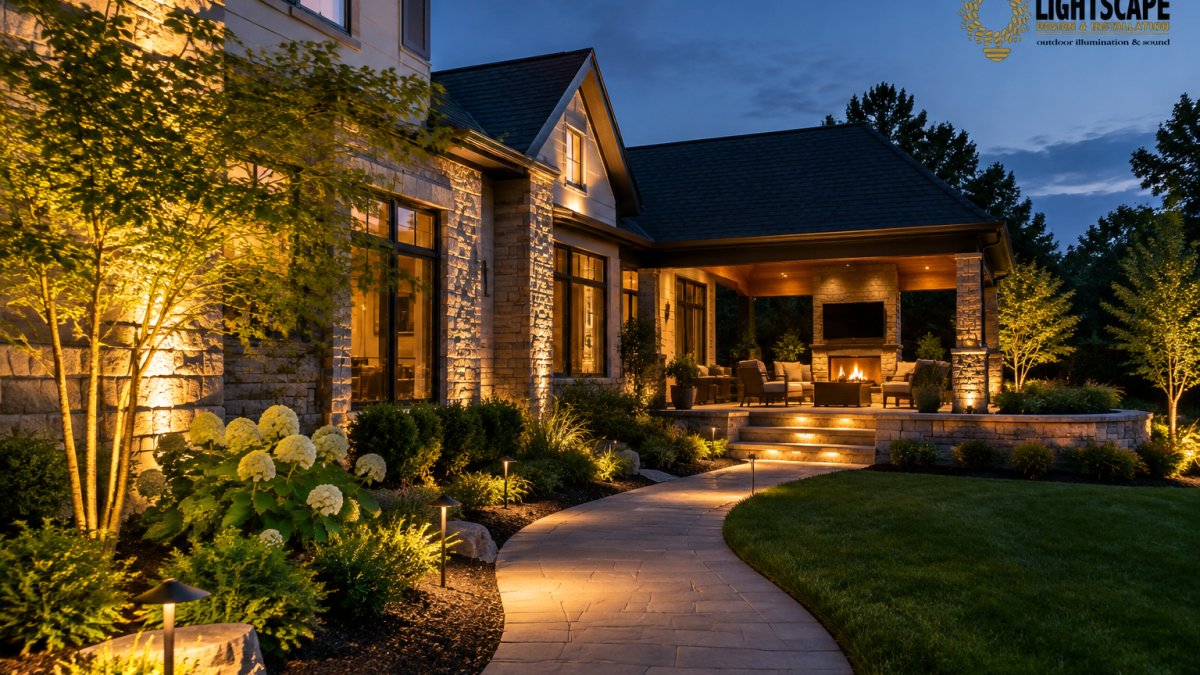
Use downlighting from the eaves for a gentle wash. Then add uplights on two or three key features. The mix creates depth, and the house reads as warm rather than spotlit.
Landscape Lighting Ideas for Front of House Curb Appeal
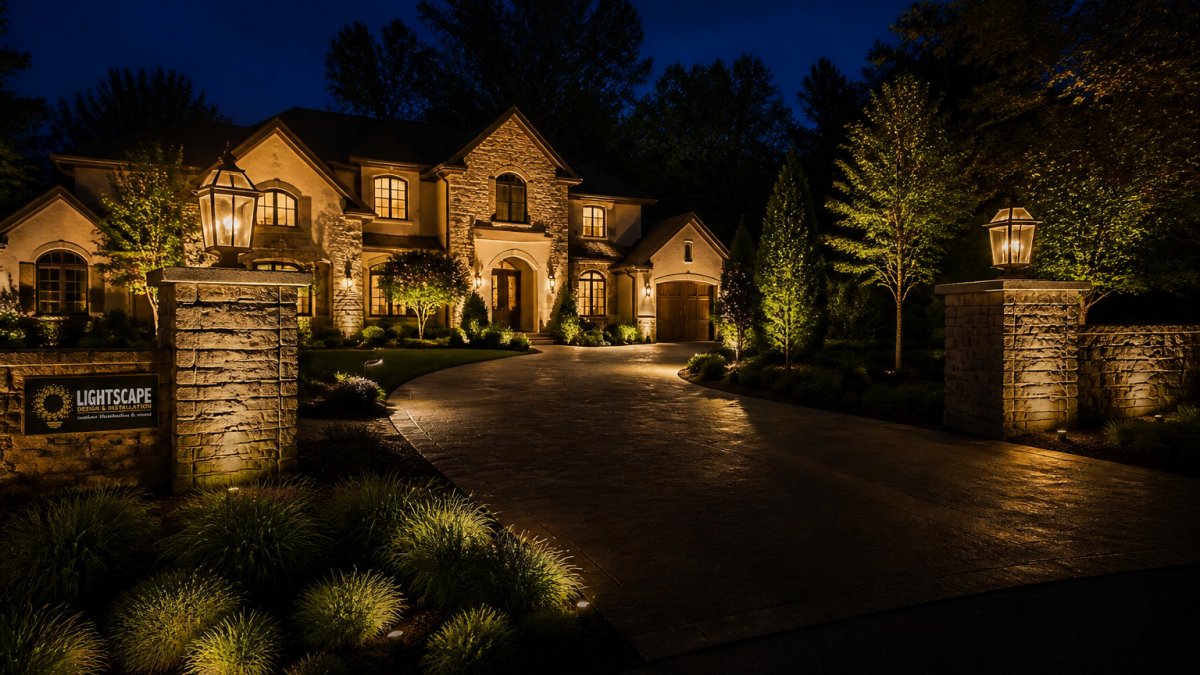
Good landscape lighting ideas for front of house curb appeal start at the street. What does a driver see first? Usually the entry, the walkway, and the largest tree. Light those first, then build outward.
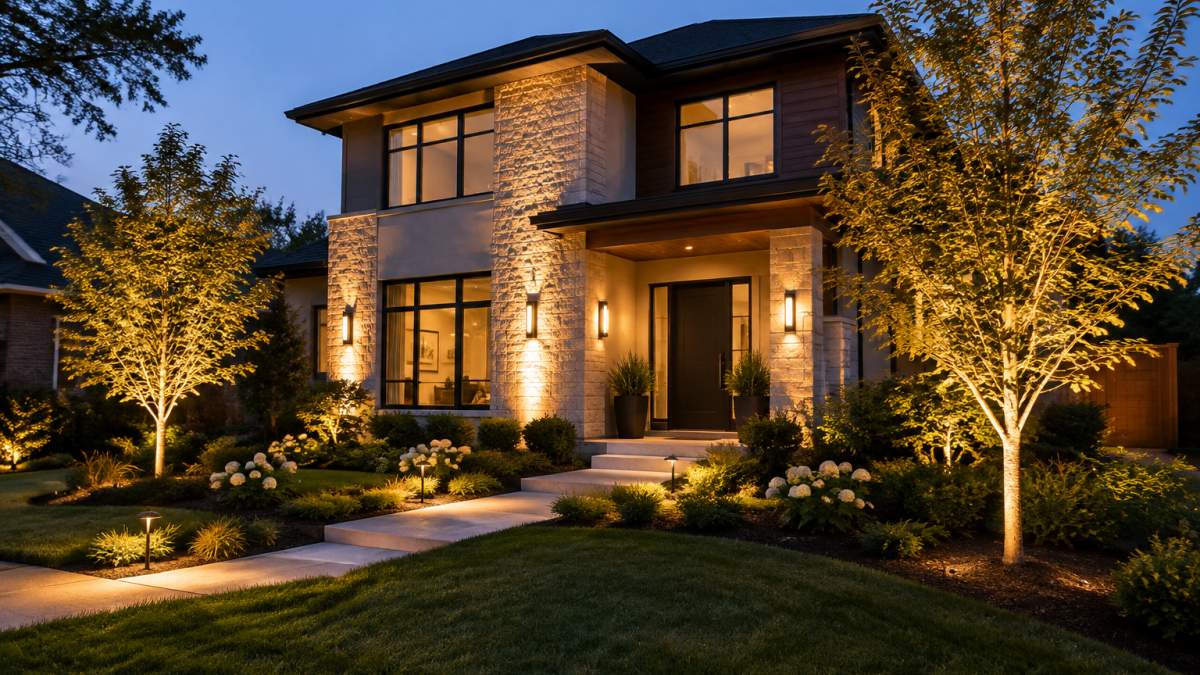
A few ideas that work on modern homes:
- Graze a stone or brick wall to show texture
- Light the house number so guests find the door
- Add step lights to every rise on the walkway
- Uplight one hero tree instead of five average ones
- Keep the garage and driveway lit for safety, not show
Curb appeal comes from restraint. A few well-placed fixtures beat a yard full of lights.
Reduce Glare and Control Light Spill on Modern Exteriors
Glare is the fastest way to ruin a lighting plan. It happens when a fixture points at the eye instead of the surface. Light spill is the cousin of glare: light that lands where it should not, like a neighbor's window or the street.
Fix both with three habits:
- Shield the source so the lamp stays hidden
- Aim beams at walls and trunks, not outward
- Keep light on your own property
Modern homes show glare more than older styles. Flat surfaces and big windows reflect stray light. Our guide to avoiding harsh outdoor lighting glare walks through shielding and aiming in detail.
Choose Fixtures and Controls Built for Modern Architecture
Modern architecture rewards simple, well-made fixtures. Look for small bodies, clean shapes, and finishes that disappear into the landscape. Brass and dark bronze age well and blend into stone and mulch. But specifications matter more than looks, and this is where most modern-home lighting plans succeed or fail. Ask about lumens, beam angle, wattage, color temperature, and the control system before you buy.
Fixture Specifications That Actually Matter
- Lumens: Output, not wattage, tells you how bright a fixture is. Path lights commonly run 100 to 300 lumens, facade uplights 200 to 600 lumens, and tree uplights 400 to 900 lumens depending on canopy size. More lumens is not better; matched output is.
- Beam angle: Narrow beams (10 to 25 degrees) graze texture and climb columns. Medium beams (30 to 45 degrees) wash flat planes. Wide beams (60 degrees and up) suit path and patio coverage.
- Color temperature: Warm white around 2700K to 3000K keeps homes looking natural instead of blue and cold. Keep every fixture on the same color temperature so the facade reads as one system.
- Wattage and transformer sizing: Low-voltage systems run on a transformer sized to total fixture wattage plus a safety margin, usually about 20 to 30 percent headroom for future additions and voltage drop over long runs.
- Weatherproofing and ratings: Outdoor fixtures should carry a wet-location rating, and connections should be made with waterproof connectors rated for burial or exposure. Fixtures listed by a recognized testing laboratory are the baseline for safe installation.
Controls, Energy Use, and Smart Options
Controls shape both energy use and nighttime appearance. A photocell turns the system on at dusk and off at dawn.
Integrated LED fixtures with no bulbs to replace cut maintenance over time and hold their color consistency across every fixture.
Watch out: undersizing a transformer or daisy-chaining too many fixtures on one run causes voltage drop, which shows up as dim, warm, or flickering lights at the end of the line.
Our low voltage landscape lighting buyer's guide covers fixtures, transformers, and wire planning.
Book a Nighttime Lighting Demo for Your Home
A nighttime demo answers the question no photo can: how will it look on your home? We offer a complimentary nighttime lighting demonstration at your property.
Before the visit, walk your property and note the features you love most. You can read more about what a professional consultation involves and how to prepare.
A good demo should feel calm and controlled, not like a sales pitch.
Most homeowners start with one worry: will this look artificial? It won't if the plan is built in layers, the fixtures stay hidden, and the color stays warm and consistent.
Frequently Asked Questions
What is the best way to illuminate the outside of my house without making it look overly lit?
The key is layering light rather than flooding the facade. Use a mix of ambient, task, and accent lighting with warm white LEDs and narrow beam angles. Aim uplights to graze textures rather than blast flat walls, and add downlights under eaves or soffits for soft pools of light. Keep fixture counts modest and use a consistent color temperature so modern home exteriors look intentional, not like a security lot.
What is the 5'7" lighting rule, and does it apply to outdoor lighting?
The 5'7" rule comes from interior design: hang fixtures so the bulb sits around eye level, roughly 5 feet 7 inches from the floor. Outdoors, the same idea helps with glare control. Keep uplights aimed above eye level or shielded so you see the lit surface, not the source. For path lights, position them so the light falls on the walkway and the bulb is hidden by a shield or cap. This simple habit reduces glare and light spill.
How do I light a modern house exterior without creating glare?
Glare comes from seeing the light source directly or from aiming fixtures too high or too wide. Choose fixtures with internal shields, honeycomb louvers, or adjustable cowls. Aim uplights at walls and trees, not into windows or neighbor yards. Use beam angles that match the feature: narrow for tall columns, wider for low hedges. Keep wattages modest and rely on multiple well-placed fixtures rather than a few bright ones. A nighttime demo helps you test glare before installation.
Where should exterior uplights be placed on a house?
Place uplights at the base of architectural features you want to emphasize: columns, gables, stone walls, and entryways. Set them 6 to 12 inches from the wall and aim slightly upward to graze the surface. For trees, position uplights 2 to 3 feet from the trunk and aim into the canopy. Avoid placing fixtures where they shine into windows or across walkways. A professional placement plan prevents hot spots and keeps modern home exteriors balanced.