 how-to
How to Light Driveway Entrances for Curb Appeal and Safety
Last Updated: November 4, 2026
Quick Summary
To learn how to light driveway entrances, plan at night on foot, then layer ambient, accent, and guiding light. Place a 6 to 8 foot post at the mouth, space path lights 6 to 8 feet apart, and tighten spacing through curves.
- Walk the entrance after dark with a flashlight and sketch each dark pocket and turn.
- Three quiet layers beat one loud one: ambient, accent, and guiding light.
- Space path and bollard lights roughly 6 to 8 feet apart on straight runs.
- Tighten path light spacing to about 4 to 6 feet through curves.
- Recessed in-ground fixtures must be rated for drive-over traffic and proper drainage.
Table of Contents
- Start With a Plan: Mapping Your Driveway Entrance Lighting
- Driveway Entrance Lighting Ideas That Work
- Recessed Driveway Lights for a Clean, Modern Look
- Solar Driveway Lights: Where They Fit and Where They Fall Short
- Long Driveway Lighting Ideas for Depth and Direction
- Brightness, Beam Spread, and Glare Control
- Wiring, Transformers, and Safe Installation
- Schedule a Nighttime Lighting Demonstration
- Frequently Asked Questions
Start With a Plan: Mapping Your Driveway Entrance Lighting
Learning how to light driveway entrances starts long before you buy a fixture. The best results come from a plan built at night, on foot, with a notepad. A driveway entrance does two jobs at once: it guides arriving guests and it sets the tone for the whole property.
A good plan answers three questions. Where does a car actually turn? Where does a person walk? And what should the eye see first?
Walk the Entrance at Night
Stand at the curb after dark and look toward the house. Then walk the route a guest would take. Note the dark pockets, the sharp turns, and the spots where headlights wash out the view.
Bring a flashlight and check these points:
- The mouth of the driveway where it meets the street
- Any curve or direction change
- Grade changes and steps near the final approach
Mark each spot on a simple sketch. That sketch becomes your fixture map.
Identify the Layers: Ambient, Accent, and Guiding Light
Lighting layers are the backbone of a professional design. Ambient lighting is the soft wash that lets eyes adjust. Accent lighting highlights trees, stone, and architecture. Guiding light marks the path and the edges of the driveway.
A common mistake is relying on one layer for everything. That is how entrances end up either too dark or harshly bright. Three quiet layers beat one loud one.
Driveway Entrance Lighting Ideas That Work
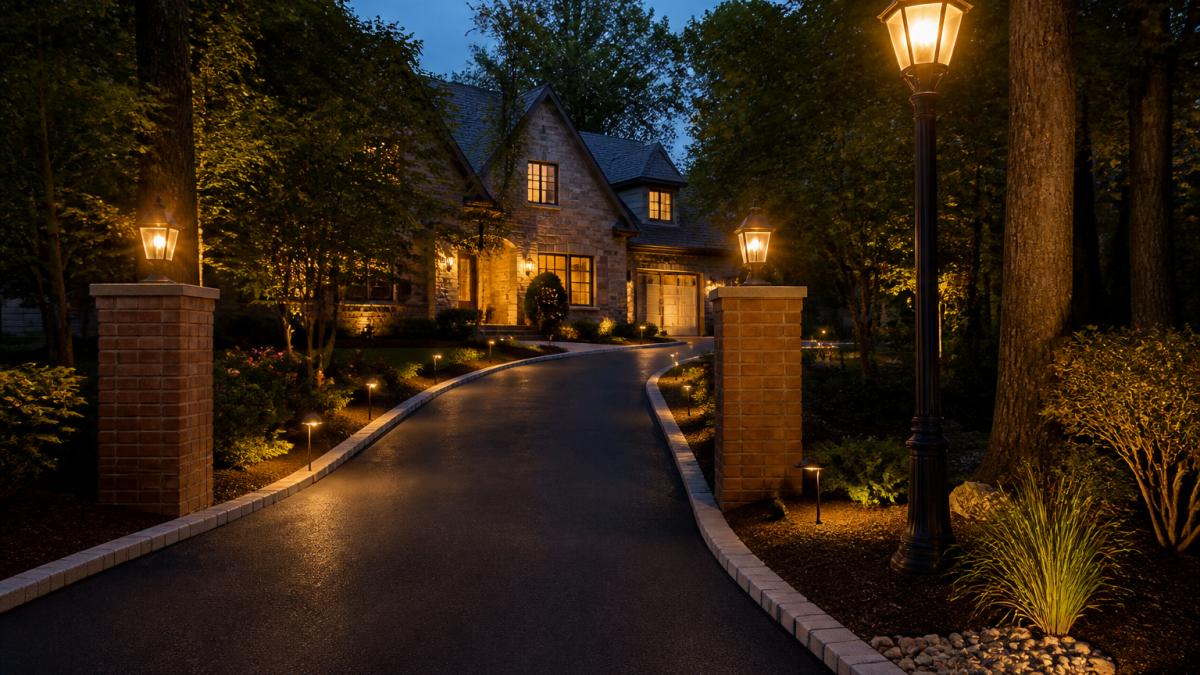
The strongest driveway entrance lighting ideas share one trait: they put light where the eye needs it and keep it off everything else. Below are the fixture types we use most, and what each does best.
| Fixture Type | Best For | Light Character |
|---|---|---|
| Post lights and lampposts | Curb presence, gateposts | Warm, welcoming glow |
| Path and bollard lights | Driveway edges, walkways | Low, guiding pools |
| Column and pier lights | Brick columns, entry piers | Architectural accent |
| Recessed in-ground lights | Clean modern driveways | Precise, hidden source |
| Solar lights | Remote posts, low-priority spots | Variable, weather-dependent |
Post Lights and Lampposts at the Curb
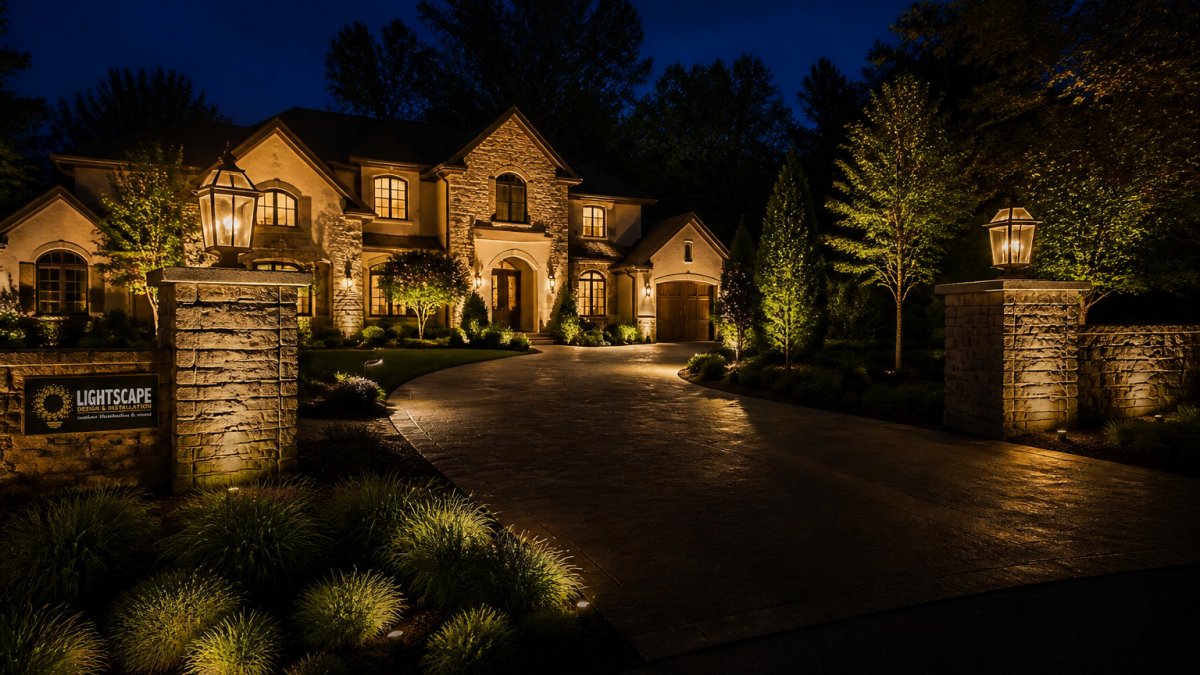
A well-scaled lamppost at the driveway mouth gives the entrance a clear identity from the street. Post lights also help guests find the turn on a dark night. Scale matters: a post that is too tall looks commercial, and one that is too short disappears behind parked cars.
Path and Bollard Lights Along Driveway Edges
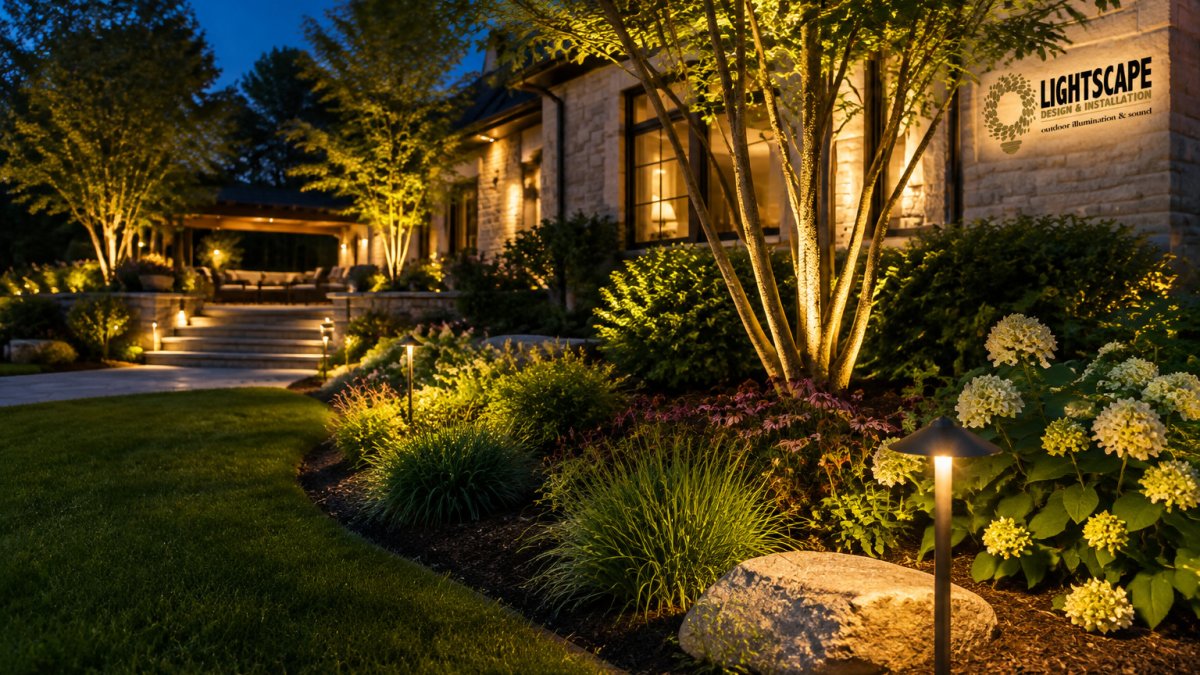
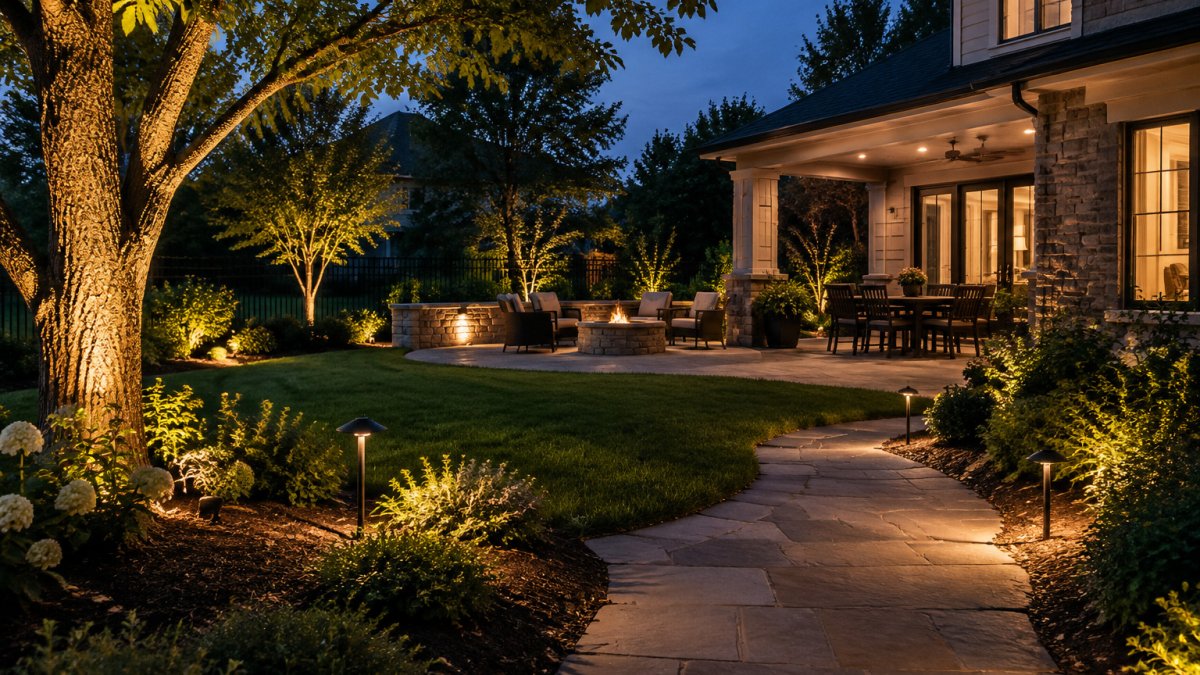
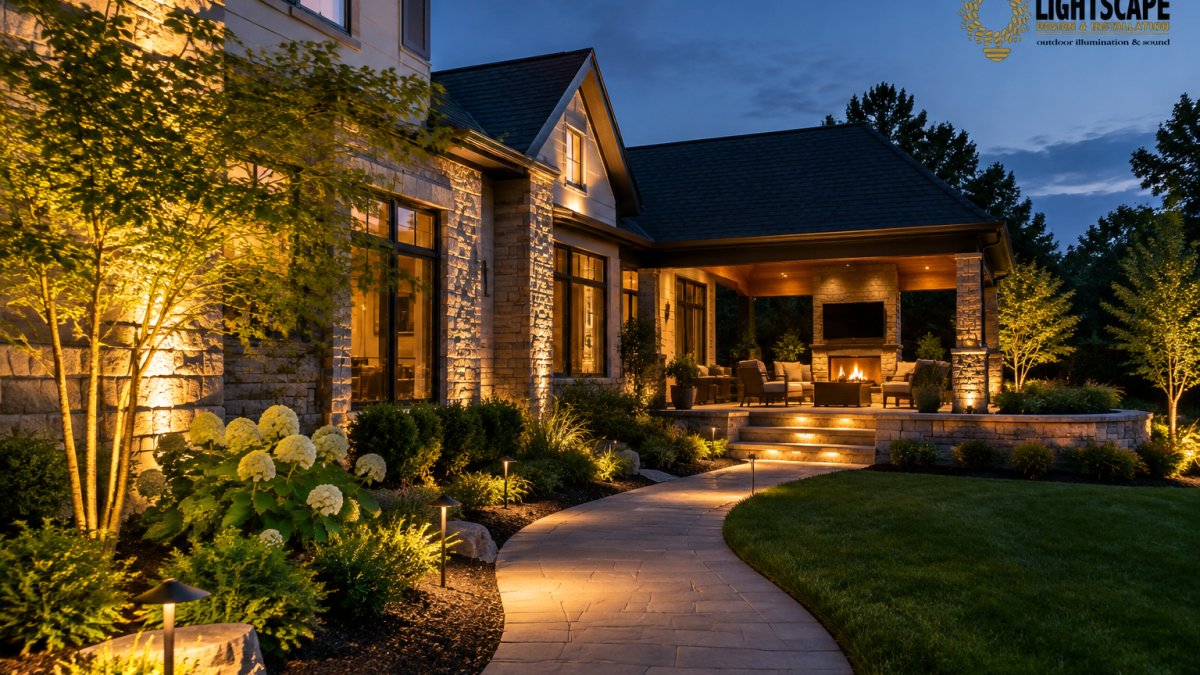
Path lights and bollard lights outline the driveway so tires stay on pavement and guests never step into planting beds. Space them to create an even rhythm rather than a runway effect. On curves, tighten the spacing so the line of light follows the direction change.
Lighting Entry Columns, Piers, and Fence Posts
Brick columns and entry piers are natural places for wall-mounted lights or small uplights. Light them from the front or side so texture shows. Fence posts along the property line can carry low fixtures that extend the entrance rhythm without adding glare.
Recessed Driveway Lights for a Clean, Modern Look
Recessed driveway lights sit flush with the pavement and throw light straight up or across. They suit modern design well because the fixture disappears and only the effect remains.
Watch out: recessed fixtures must be rated for drive-over traffic and installed with proper drainage. For a deeper look at fixture and transformer options, see our buyer's guide to low voltage landscape lighting.
Solar Driveway Lights: Where They Fit and Where They Fall Short
Solar driveway lights are the easiest fixtures to install because they need no wiring. That convenience comes with trade-offs. Output drops on cloudy stretches, and brightness fades as batteries age.
They work well on remote fence posts, mailbox markers, and low-priority spots. They struggle on primary entrance lighting where consistent light color and dependable nighttime visibility matter. If the entrance must look the same in December as in June, wired low-voltage lighting is the better tool.
Request a Lighting Consultation Today →
Long Driveway Lighting Ideas for Depth and Direction
A long driveway needs rhythm, not a wall of light. The goal is a repeating pattern the eye can follow, with brighter moments at decision points and quieter light in between. A consistent rhythm tends to read as intentional design, while evenly spaced identical fixtures can read as a runway.
A Measured Layout You Can Apply
The numbers below are starting points, not rules. Adjust them to your fixture output, pavement width, and planting. Walk the drive at night with these in mind and mark each position on a sketch.
- Path and bollard lights along the edges: space fixtures roughly 6 to 8 feet apart on straight runs, and tighten to about 4 to 6 feet through curves so the line of light follows the direction change. Set them 12 to 18 inches off the pavement edge, on the side away from the driver's mirror.
- Post lights and lampposts at the mouth: a post roughly 6 to 8 feet tall reads as residential rather than commercial. Set the post back from the pavement edge so a car door does not swing into it, and aim the fixture so light falls on the turn, not into oncoming headlights.
- Tree uplighting at curves: place uplights 2 to 3 feet from the trunk and aim them up into the canopy. The glow marks the turn from a distance without putting light in a driver's eyes.
Layout by Driveway Type
- Short driveway: one post at the mouth, two to four path lights along the edges, and a single accent on the entry columns is usually enough. Resist the urge to fill every gap.
- Long straight driveway: a repeating pair of low path lights every 6 to 8 feet, broken by tree uplighting every 30 to 40 feet, keeps the drive interesting without glare.
- Curved driveway: tighten spacing through the bend, and place a brighter accent just past the curve so the driver sees where the pavement goes next.
Layering ambient, accent, and guiding light along the full length keeps the drive interesting without glare. For the full design process, our guide to landscape lighting for curb appeal walks through the planning steps.
Brightness, Beam Spread, and Glare Control
Glare is the most common failure in driveway lighting. A fixture aimed at the street blinds drivers and washes out the view.
Beam spread is the width of light a fixture throws. Narrow beams suit tall trees and columns.
We use integrated LED fixtures with customized wattages and beam spreads. For a deeper look at shielding and aiming, read our guide to avoiding harsh outdoor lighting glare.
Wiring, Transformers, and Safe Installation
Most residential driveway lighting runs on a low-voltage system: a transformer steps household current down to a safer level, and cable carries that current to each fixture. Getting the electrical plan right before the first trench is dug is what separates a system that lasts from one that flickers or fails.
Low-Voltage vs. Line-Voltage
- Low-voltage (typically 12V): the common choice for path, bollard, post, and accent fixtures. It is safer to work around, easier to extend, and well suited to LED fixtures. The trade-off is voltage drop over long runs, which must be planned for.
- Line-voltage (120V): sometimes used for larger lampposts or long runs where low-voltage drop becomes impractical. It requires weather-rated fixtures, proper grounding, and typically an electrician.
When in doubt, hire a licensed electrician for any line-voltage work, panel connections, or anything you are not certain is code-compliant. Local electrical codes govern burial depth, conduit, and connections, and they vary by jurisdiction.
Transformer Sizing and Voltage Drop
Size the transformer for the total connected load plus a margin for future fixtures. A common pattern is to leave roughly 20 to 30 percent headroom so the system is not maxed out on day one. Undersized wire on a long run causes voltage drop, and the far fixtures dim first. The fix is heavier wire gauge on long runs or splitting the system into multiple runs from the transformer.
Cable, Connections, and Burial
- Bury cable at the depth your local code requires, and protect it where it crosses walkways or is likely to be disturbed.
- Use weather-rated connectors and waterproof splices at every connection. A dry connection today becomes a flickering fixture after a wet season.
- Keep connections above grade where possible, and never leave a splice sitting in a low spot that collects water.
Controls, Automation, and Maintenance
- Controls: a timer or photocell turns the system on at dusk and off on a schedule. Smart controllers add scheduling, dimming, and remote adjustment, which is useful for long driveways where you want different scenes at different hours.
- Maintenance: clean fixture lenses and check aim seasonally, trim plantings that have grown over fixtures, and inspect connections after heavy weather. Integrated LED fixtures with no replaceable bulbs reduce routine bulb changes, but the system still benefits from periodic checks.
Our step-by-step guide on installing path lights covers layout, transformer sizing, and wiring depth in detail. That is where our Pathway & Safety Lighting service comes in, and if your entrance includes brick columns, stone piers, or a paver apron, our Hardscape Lighting Design & Installation team can integrate the fixtures into the masonry so the light reads as part of the architecture.
Schedule a Nighttime Lighting Demonstration
A lighting plan is easier to trust when you see it. A nighttime demonstration shows how fixtures actually perform on your driveway, with your trees and your brick, before anything is installed.
We design and install USA-made fixtures backed by a 20-year limited warranty, with integrated LED technology and no bulbs to replace. You can book a professional outdoor lighting consultation and see what your entrance looks like after dark.
Frequently Asked Questions
How do you light a driveway entrance without creating glare?
Glare comes from aiming fixtures toward the viewer or using bulbs that are too bright for the space. Shield the light source, aim fixtures downward or across the surface, and choose warm color temperatures around 2700K to 3000K. Use beam spreads that wash the ground rather than point at eye level. A professional lighting plan balances brightness so the entrance feels welcoming, not harsh.
Are recessed driveway lights a good choice for an entrance?
Recessed driveway lights sit flush with the pavement and cast a clean, modern glow without visible hardware. They work well along driveway curves, direction changes, and the final approach to a garage. Because they are embedded in the surface, they must be rated for drive-over traffic and installed with proper drainage. They pair nicely with post lights and path lights for a layered look.
Can solar lights effectively illuminate a driveway entrance?
Solar driveway lights are convenient because they need no wiring, but their output depends on sunlight and battery capacity. In shady entrances or during cloudy stretches, brightness can fade. They work best as decorative accents or in low-traffic areas. For consistent, glare-free illumination that lasts all night, low-voltage wired fixtures with integrated LED technology are more reliable.
Where should lights be placed at a driveway entrance?
Place lights at the curb or apron to mark the entry, along driveway edges to outline the path, and at grade changes or steps to prevent trips. Light entry columns and fence posts to frame the entrance. For long driveways, space fixtures to create a rhythm that guides the eye toward the home. A nighttime walk-through helps identify dark spots and sightlines before finalizing placement.
Your driveway entrance is the first thing guests and buyers see, and it deserves more than a pair of floodlights. Lightscape Design & Installation designs layered, glare-conscious systems with USA-made fixtures, integrated LED technology, and a 20-year limited warranty, installed and aimed by our local team. Get started with Lightscape Design & Installation and give your entrance the welcome it deserves.