 how-to
How to Layer Light in Garden Beds for Depth and Drama
Last Updated: November 9, 2026
Quick Summary
To layer light in garden beds, build three separate layers: ambient lighting as the soft base, task lighting for paths, steps and patio edges, and accent lighting for drama on trunks and shrubs. Knowing how to layer light in garden beds means aiming for contrast and dark negative space rather than a flat wash of brightness.
- Space fixtures so beams overlap at the plant's midpoint, setting spacing from beam angle and distance to the target.
- Stagger fixture distance from the bed edge so light pools land at different depths instead of forming a visible line.
- Keep color temperature in the 2700K to 3000K range and use one color temperature per view.
- Program ambient at roughly 40 to 50 percent at dusk and dim accents to 20 to 30 percent later in the evening.
- Hot spots trace to a fixture aimed too close, a beam too narrow for the distance, or mismatched wattage.
Table of Contents
- The Three Layers of Garden Bed Lighting
- Landscape Lighting Design Techniques That Create Depth
- Best Practices for Garden Uplighting
- Outdoor Lighting Fixture Placement for Even Coverage
- Choosing Beam Spread and Color Temperature for Garden Beds
- Plant-Specific Layering and Smart Automation
- Troubleshooting Hot Spots and Budget-Tier vs. Pro-Tier Layering
- Schedule a Nighttime Lighting Demonstration
- Frequently Asked Questions
The Three Layers of Garden Bed Lighting
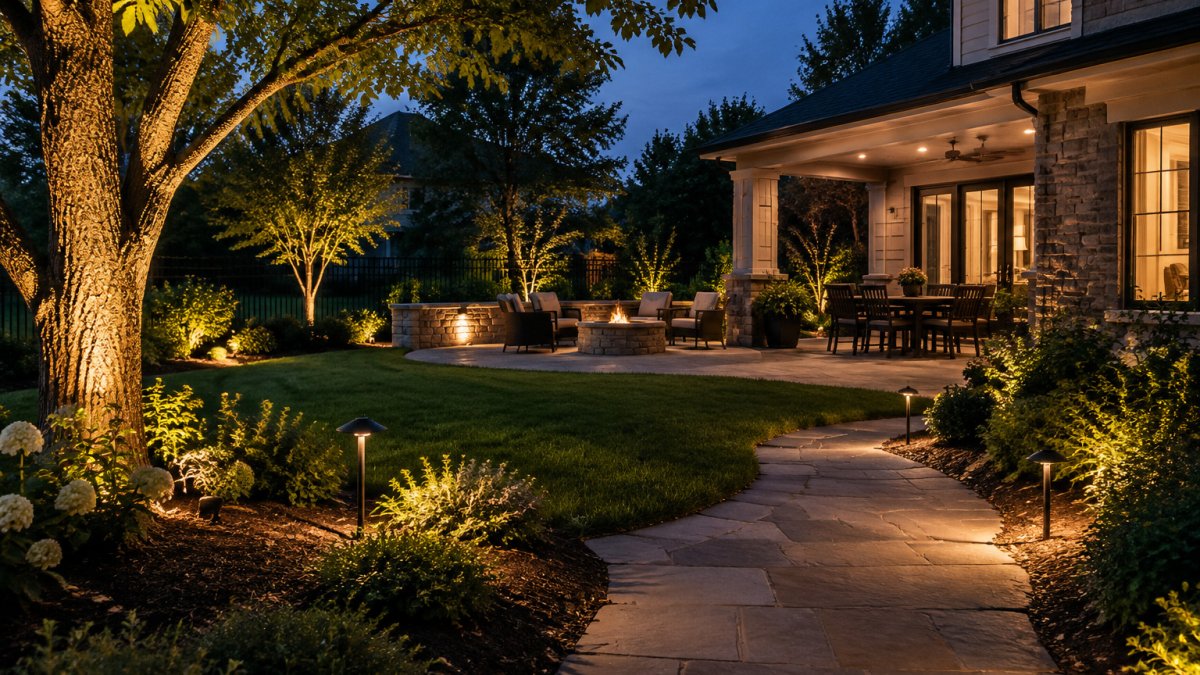
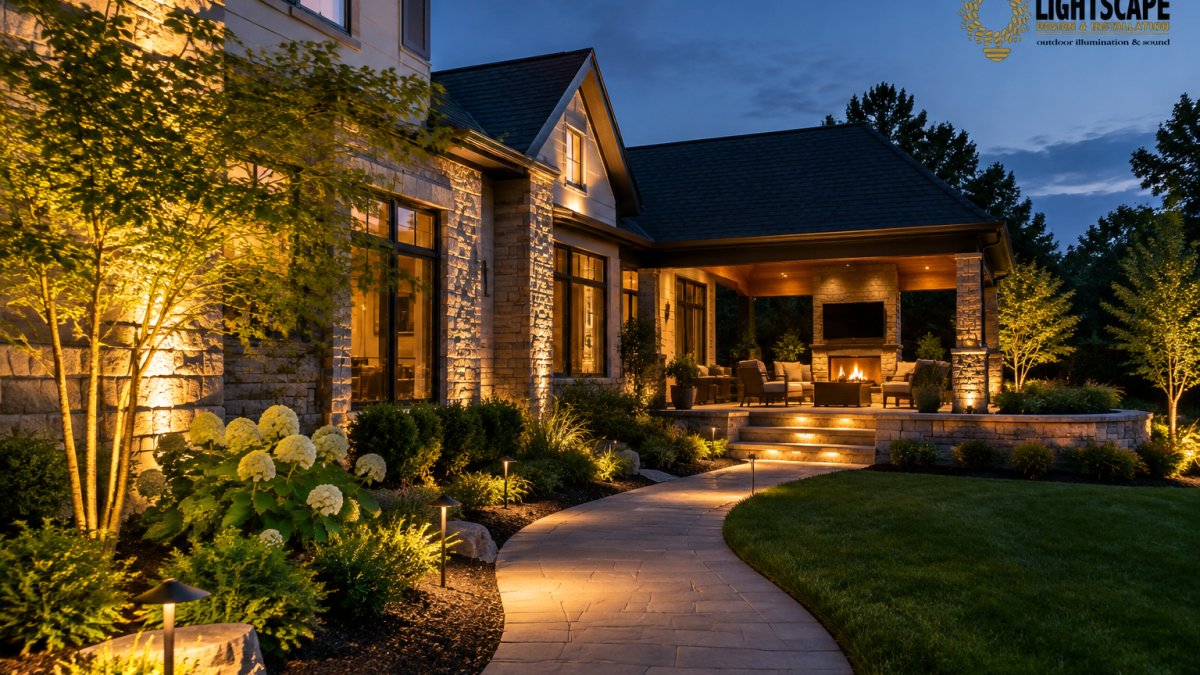
Learning how to layer light in garden beds comes down to one idea: a garden bed should read as depth, not a flat wash of brightness. At Lightscape Design & Installation, we build every bed around three separate layers, each doing a different job.
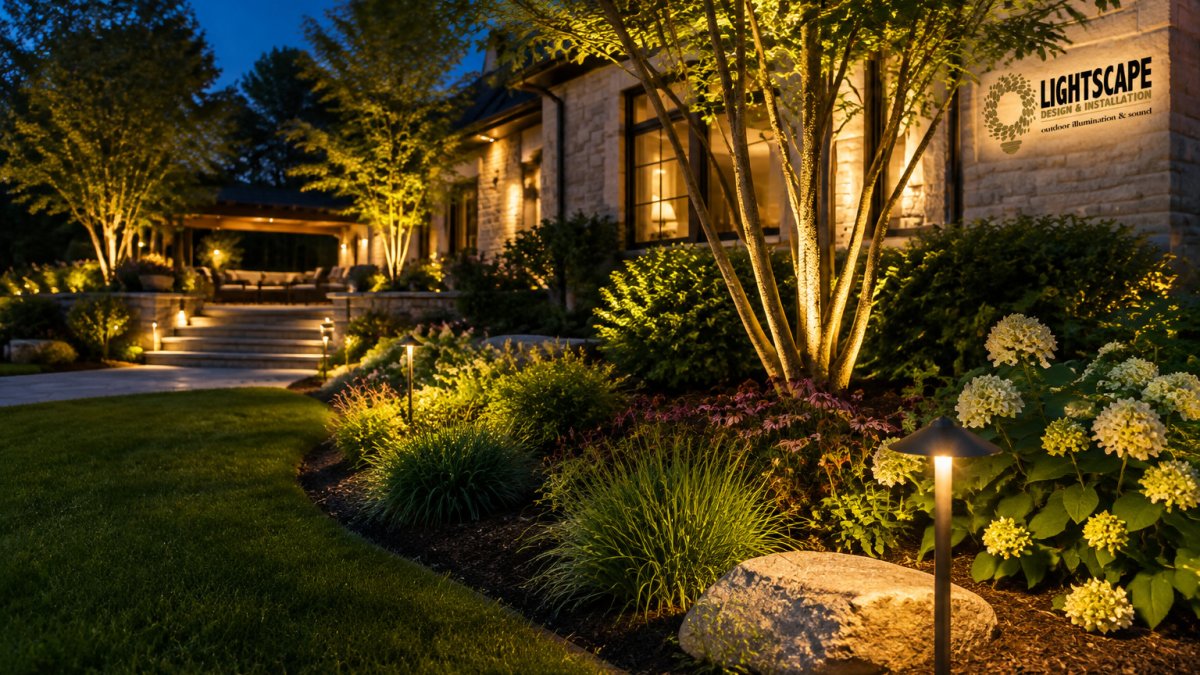
Ambient lighting is the soft base that lets the eye adjust. Task lighting handles safety and use, lighting paths, steps, and patio edges. Accent lighting is the drama: the uplight on a tree trunk, the glow behind a shrub.
Skip any layer and the bed looks either flat or harsh. For the full layered approach across the whole property, see the complete guide to modern outdoor lighting design trends. A bed lit with accent only, and no base, often looks harsh or unfinished.
Landscape Lighting Design Techniques That Create Depth
Depth comes from contrast, not from more fixtures. Three techniques do most of the work:
- Grazing: aim a fixture close to a wall or trunk so light skims the surface and reveals texture.
- Silhouetting: place light behind a shrub so its shape reads dark against a lit wall.
- Shadowing: use a tree or fence to cast patterned shadow across a bed.
Aim for a focal point per view, then let negative space stay dark. Dark gaps are what make the lit areas look intentional.
Best Practices for Garden Uplighting
The best garden uplighting starts at the fixture, not the plant. Choose a narrow beam spread for tall trunks and a wider one for low canopies. Keep fixtures back from the trunk so the beam opens as it rises.
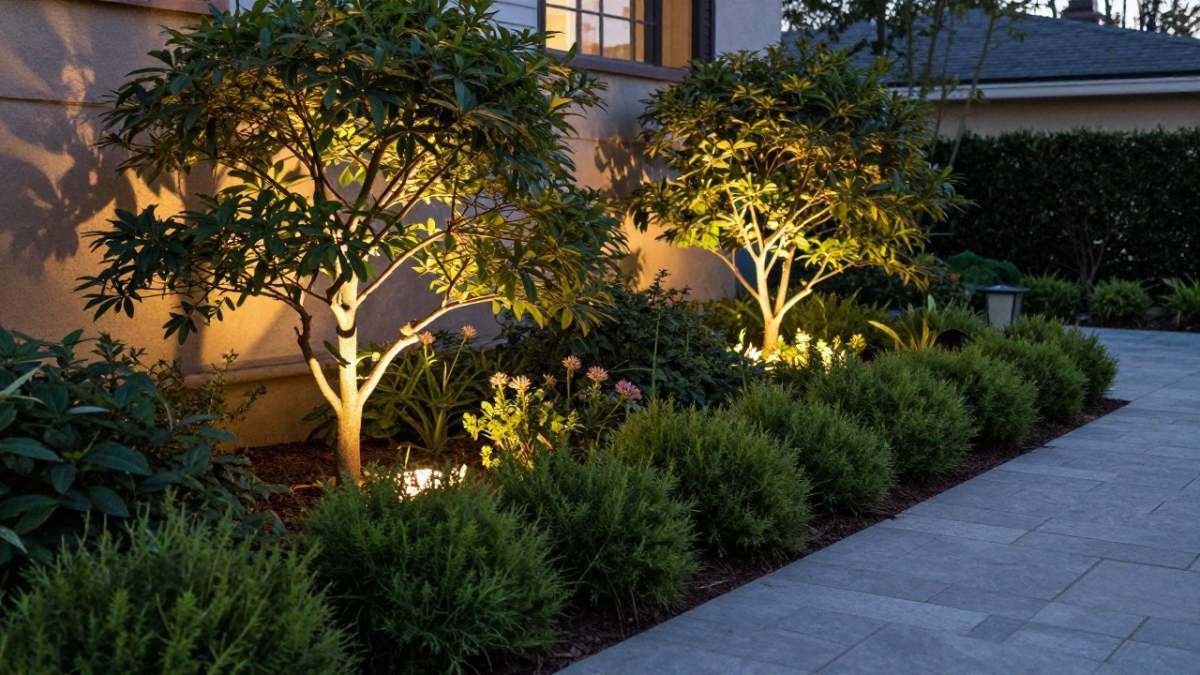
Glare is the enemy. Shield the source, aim the beam, and check the view from inside the house. For a deeper walkthrough on aiming and angles, see our guide on how to illuminate backyard trees.
Outdoor Lighting Fixture Placement for Even Coverage
Even coverage is a placement problem, not a brightness problem. Adding fixtures to fix a dark gap usually just adds another hot spot. The fix is spacing and aim.
Space fixtures so beams overlap at the plant's midpoint. If two uplights sit six feet apart and each beam is 30 degrees wide, the cones meet roughly at the height where the plant's mass begins. Move them closer and the overlap climbs; move them apart and a dark wedge opens between them. Set the spacing from the beam angle and the distance to the target, not from habit.
Stagger distance from the bed edge. Placing every fixture at the same setback creates a visible line of light along the border, the single most common giveaway of an amateur install. Pull some fixtures forward and push others back so the light pools land at different depths.
Swap sides between neighboring plants. Alternating left and right uplights on a row of shrubs keeps the bed from looking striped and lets shadows fall in different directions.
Keep fixtures back from trunks and walls. A fixture set too close throws a hard ring at the base and leaves the canopy dark. Backing it off lets the beam open before it reaches the foliage.
Match wattage and beam angle across a bed. Mixed fixtures show up at night as patchy color and uneven intensity even when the Kelvin rating matches on paper. Consistent output across a bed is what makes a layered look read as intentional.
Watch out: a fixture buried in mulch or hidden behind a shrub can be blocked as plants fill in, so check the sightline from the primary viewing angle, usually a window or patio, not just from standing over the bed.
Professionally designed systems handle this with fixtures built to hold their aim through seasons of growth and weather. Our USA-made fixtures use integrated LED technology without replaceable bulbs, with customized wattages and beam spreads set per bed, consistent light color across the property, and a 20-year limited fixture warranty. Thoughtful placement at install is also what makes long-term maintenance simple.
Choosing Beam Spread and Color Temperature for Garden Beds
Color temperature sets the mood before beam spread shapes it. In the 2700K to 3000K range, foliage reads green and stone reads warm; cooler kelvin values push everything blue and clinical.
| Bed Type | Beam Spread | Color Temperature | Layer Focus |
|---|---|---|---|
| Mature trees | Narrow spot | 2700K | Accent uplight |
| Mixed shrubs | Medium flood | 2700K-3000K | Grazing |
| Pathways | Wide wash | 2700K | Task |
| Stone walls | Medium | 2700K | Grazing texture |
Color Temperature
Keep one color temperature per view. Consistency matters more than the exact number.
Plant-Specific Layering and Smart Automation
Most layering guides stop at hardscape and treat plants as interchangeable green shapes. They are not. Foliage type changes how light behaves, and the fixture that flatters a Japanese maple can flatten a boxwood hedge into a green wall.
Broadleaf evergreens, hollies, magnolias, rhododendrons, have glossy, waxy leaves that throw light back at the viewer. Grazing them from a low angle at the bed edge makes each leaf catch a highlight and reads as depth. Aiming straight into the canopy instead produces a sheet of glare with no shape.
Fine-textured and needle-leaf plants, yews, junipers, arborvitae, ornamental grasses, absorb more light than they reflect. They want a softer, wider wash from a slightly greater distance so the texture reads as a mass rather than a tangle of individual needles. A narrow spot on a juniper just makes a bright cone with a dark skirt.
Deciduous shrubs and perennials change through the season. A spirea that is dense in June is open and twiggy by October, so a beam that grazed it cleanly in summer may shoot through it in fall. Plan the aim around the plant's mature and dormant form, not its nursery size.
Tall-trunked trees need the beam to travel. A narrow spot set back from the trunk lets the cone open as it climbs, lighting the canopy instead of a bright ring at the base. Low-canopy ornamentals want a wider flood so the underside of the leaf mass glows evenly.
Smart automation is where layering stops being a static photograph and becomes a sequence. Program the layers to arrive at different times and levels rather than snapping on together:
- Ambient layer at roughly 40 to 50 percent at dusk, so the eye adjusts gradually.
- Task layer, paths, steps, patio edges, at full output whenever the space is in use.
- Accent layer at full output for the dinner hour, then dimmed to 20 to 30 percent later in the evening.
That single dimming step fixes most "too bright" complaints without touching a fixture. A common pattern is to keep task lighting on a motion or schedule trigger and let accent lighting run on a separate scene, so the garden stays safe after the drama is dialed back. Our team can walk through whether smart home integration for outdoor lighting fits your system before you commit, and we set scenes around how you actually use the yard rather than a factory default.
Troubleshooting Hot Spots and Budget-Tier vs. Pro-Tier Layering
Hot spots are bright pools with dark rings around them, and they almost always trace to one of three causes: a fixture aimed too close, a beam too narrow for the distance, or mismatched wattage.
Fixing them means re-aiming, widening the beam, or dimming, not adding fixtures. Our glare and hot spot guide covers the aiming steps in detail.
Budget-tier layering usually means fewer fixtures spread thin. Pro-tier layering means fewer, better-aimed fixtures with consistent color and integrated LED output that holds steady over time.
Schedule a Nighttime Lighting Demonstration
A lighting plan is easier to trust in person than on paper. We invite you to book a professional outdoor lighting consultation and see layered light on a real property after dark.
Layered garden beds reward planning more than product. If you want the three layers aimed, spaced, and color-matched in one visit, Lightscape Design & Installation handles design, installation, and final aiming with USA-made fixtures, integrated LED technology, and a 20-year limited fixture warranty. Get started with Lightscape Design & Installation and see your garden beds the way they should look after sunset.
Frequently Asked Questions
What is the 5'7" lighting rule for landscapes?
The 5'7" rule is a rough aiming guideline: position a fixture about 5 to 7 feet from the base of a tree or shrub so the beam reaches roughly two-thirds up the plant. It keeps the light from washing out the canopy and preserves a natural look. In practice, the right distance depends on the plant's height and the fixture's beam spread, which is why professional aiming matters for garden bed lighting.
How do I create depth using layered garden bed lighting?
Put the brightest accent light on your focal point, then use softer ambient light behind it and lower-output task light in front. Varying color temperature slightly warmer in back and beam spread wider in front builds depth perception. Leaving deliberate negative space between lit areas is just as important as the light itself, because shadow is what makes a garden bed read as three-dimensional after dark.
What are the most common outdoor lighting mistakes to avoid?
The biggest mistakes are aiming fixtures straight up into the canopy, placing lights too close to trunks, mixing color temperatures across one bed, and using wide flood beams where a narrow spot belongs. Each creates glare or hot spots. Choose fixtures with glare control, keep consistent Kelvin across the zone, and match beam spread to the plant's size before you install anything.
How do I choose the right beam spread for garden bed fixtures?
Match beam spread to the plant's form. Narrow spots (around 10 to 15 degrees) suit tall, slender trees and architectural features. Medium beams (25 to 40 degrees) work for shrubs and mid-size trees. Wide washes (60 degrees or more) are for ground cover and hardscape. Adjustable fixtures let you fine-tune the angle after installation, which is where professional placement and aiming make the biggest difference.