 how-to
Landscape Lighting Maintenance Tips for 2026
Table of Contents
- Landscape Lighting Maintenance Tips: What You'll Need Before You Start
- Cleaning Outdoor Light Fixtures Without Damaging the Finish
- Landscape Lighting Transformer Maintenance and Electrical Checks
- How to Troubleshoot Landscape Lighting: Flickers, Outages, and Dimming
- Fixture Alignment and Beam Direction: Maintaining the Design After Installation
- Solar Panel Care, LED Lifespan, and Seasonal Weatherproofing
- Smart Lighting Integration and Code Compliance: Two Maintenance Angles Most Owners Miss
- Conclusion
- Frequently Asked Questions
Last Updated: October 7, 2026
Landscape Lighting Maintenance Tips: What You'll Need Before You Start
Landscape lighting maintenance is the routine care that keeps outdoor fixtures, wiring, and transformers working safely season after season. A system that gets two hours of attention twice a year will outlast one that gets ignored for a decade.
Gather these before you touch a fixture:
- Soft microfiber cloths and a soft-bristle brush
- Mild soap and water in a bucket
- Dielectric grease for electrical connections
According to guidance from the Electrical Safety Foundation, outdoor electrical systems deserve the same caution as indoor ones, and that starts with shutting off power at the transformer before any hands-on work.
Cleaning Outdoor Light Fixtures Without Damaging the Finish
Cleaning is where most damage happens, not where it's prevented. The U.S. Department of Energy's outdoor lighting guidance notes that dirty lenses cut light output, so cleaning isn't cosmetic; it's a performance task.

Lens, Trim, and Fixture Housing Cleaning Steps
- Cut power at the transformer.
- Wipe the lens with a damp microfiber cloth and mild soap.
- Brush debris from the trim and housing vents with a soft brush.
- Dry everything completely before restoring power.
- Check the gasket and lens seal while the fixture is open.
Clearing Debris and Trimming Vegetation Around Fixtures
Plants grow. A fixture that was clear last spring may now sit inside a shrub. Trim vegetation so it never touches the lens, and clear mulch and leaf litter from the base. This protects beam spread and stops moisture from wicking into the housing.
Landscape Lighting Transformer Maintenance and Electrical Checks
Transformer maintenance is the step most owners skip, and it protects everything downstream. The transformer steps household voltage down to a safe low-voltage level; when it fails, the whole run goes dark. Check it twice a year, in spring and fall.
Inspecting Wiring Connections, Voltage Drop, and Corrosion
Open the transformer enclosure and look for three things:
- Corrosion on terminals, often a white or green crust
- Loose wiring connections that wiggle when touched
- Voltage drop at the farthest fixture, measured with a tester
Apply dielectric grease to clean connections to keep moisture out. If voltage at the end of the run is noticeably lower than at the transformer, the run is too long or the wire gauge too small. A ground fault circuit interrupter should protect the circuit; test it with its reset button.
How to Troubleshoot Landscape Lighting: Flickers, Outages, and Dimming
Troubleshooting starts with the symptom, because each one points to a different cause:
| Symptom | Likely Cause | First Fix |
|---|---|---|
| Whole system out | Tripped GFCI or dead transformer | Reset GFCI, test transformer |
| One fixture out | Burnt LED module or loose connection | Check connection, then fixture |
| Flickering | Loose wiring or moisture in a connection | Dry and reseat with grease |
| Dimming at the end | Voltage drop over a long run | Test voltage, consider larger wire |
LED fixtures rarely "burn out" the way old bulbs did, but the driver inside can fail. If a single fixture is dead and its connection is clean, the fixture is usually the culprit.
Fixture Alignment and Beam Direction: Maintaining the Design After Installation
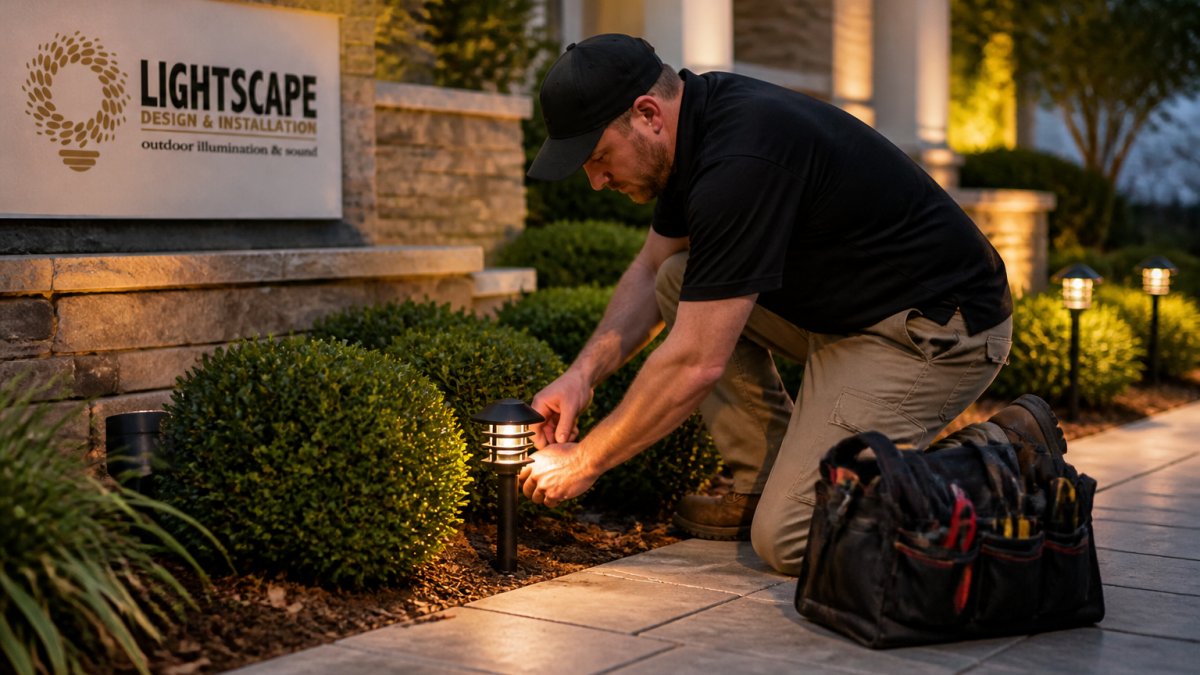
Alignment drifts. Soil settles, mowers bump fixtures, and freeze-thaw cycles shift the ground. A system aimed perfectly at installation can look messy within a year. Walk the property at night twice a year and check each fixture against its original target.
Look for glare reduction first. If you can see the light source from the patio, the fixture is aimed too high. Beam spread should wash the wall or tree, not the neighbor's window.
Solar Panel Care, LED Lifespan, and Seasonal Weatherproofing
Solar fixtures fail for predictable reasons, and almost none of them are the LED itself. The panel, rechargeable cell, and photocell are the parts that wear out, so target those three first.
Solar Panel and Battery Maintenance
A dirty panel is the number-one cause of short runtime. Pollen, dust, and bird droppings block the wavelengths a photovoltaic cell needs, and output can drop long before the panel looks soiled. Clean panels monthly during pollen season and every other month the rest of the year:
- Wipe the panel with a damp microfiber cloth and a drop of mild dish soap. Skip abrasive pads, they micro-scratch the protective coating and permanently reduce output.
- Rinse with clean water and let it air-dry before dark so the fixture can charge the same day.
- Check the panel angle. Most residential solar path lights want the panel tilted toward the midday sun; a panel knocked flat by a mower or a dog will underperform all season.
- Confirm the panel is not shaded by new growth. A shrub that grew six inches since spring can cut charging time in half.
Batteries are consumables. Most residential solar fixtures use nickel-metal-hydride (NiMH) or lithium iron phosphate (LiFePO4) cells. NiMH cells commonly need replacement every two to three years; LiFePO4 cells last longer but still degrade. A dying cell shows consistent symptoms: the fixture runs an hour or two after dusk instead of all night, or dims noticeably within the first hour. Replace it with the same chemistry and voltage the fixture specifies, mixing them can damage the charge controller.
LED Lifespan: What Actually Kills an LED
Integrated LED fixtures have no bulb to swap, but the LED emitter and its driver are still wear items. Two forces shorten LED life more than anything else:
- Heat. LEDs lose efficiency as junction temperature rises. A fixture with a sealed housing and no thermal path runs hotter and dims faster than one with a cast-metal body and vented driver compartment.
- Moisture. Water that gets past a lens gasket corrodes the driver board and the wire connections inside the fixture. Once corrosion starts on a driver, the fixture usually flickers, then dies.
That's why the gasket check in the cleaning section matters: a two-dollar gasket replaced on schedule is cheaper than a fixture replacement.
Call to schedule a consultation →
Seasonal Weatherproofing Checklist
Before the first hard freeze, walk the system and confirm each of these:
- Every fixture's IP rating is appropriate for its location. Fixtures in beds and lawns should be rated for immersion or at least heavy rain; fixtures under eaves can get by with less.
- Lens gaskets are pliable, not cracked or compressed flat. Replace any that have hardened.
- All wire nuts and connections are packed with dielectric grease and seated tight.
Eco-Friendly Cleaning and Responsible Disposal
A maintenance routine is also a chance to reduce waste. Mild soap and water outperform most specialty cleaners and are safe to rinse into beds. When a fixture fails, don't toss the whole unit if the housing is sound, many manufacturers sell replacement drivers, gaskets, and LED modules separately, keeping metal and electronics out of the landfill. Spent NiMH and LiFePO4 cells should go to a household hazardous waste drop-off or a retailer that accepts rechargeable batteries, never curbside recycling.
Smart Lighting Integration and Code Compliance: Two Maintenance Angles Most Owners Miss
Most maintenance guides stop at the fixture. If your system runs on a smart controller, Wi-Fi bridge, or low-voltage hub, the electronics behind the scenes need their own maintenance cadence.
Smart Lighting Maintenance: Firmware, Connectivity, and Hubs
A smart landscape lighting system has three layers: the fixtures, a controller or bridge that talks to them, and the app or hub that schedules and dims them.
Firmware updates. Controllers and bridges ship with firmware the manufacturer patches over time. Updates fix pairing bugs, improve dimming curves, and sometimes add scheduling features.
Wi-Fi and network connectivity. Low-voltage smart controllers usually connect over 2.4 GHz Wi-Fi, not 5 GHz.
Schedules and scenes. Daylight saving time, seasonal sunset shifts, and power outages can all throw off schedules.
When to Call a Licensed Electrician vs. What You Can Safely Do Yourself
Low-voltage landscape lighting (typically 12V or 24V) is DIY-friendly for most homeowners. Line-voltage work, anything at 120V, including the circuit feeding the transformer, the GFCI receptacle, and any hardwired switch, is not. The line is simple:
Safe for a careful homeowner:
- Cleaning lenses, trims, and solar panels
- Replacing gaskets, lenses, and LED modules on low-voltage fixtures
- Re-aiming fixtures and trimming vegetation
Call a licensed electrician:
- Anything inside the panel or on the 120V circuit feeding the transformer
- Adding a new GFCI receptacle or moving an existing one
- Any sign of scorched wire, melted insulation, or a burning smell at the transformer
A ground fault circuit interrupter is required for outdoor receptacles that supply landscape lighting, and it should be tested with its reset button twice a year.
The National Electrical Code resources from NFPA sets the baseline for safe installation, and local amendments can be stricter. If a previous owner added fixtures without proper grounding, without a GFCI, or with undersized wire, that is a safety problem, not just an aesthetic one.
Conclusion
Maintaining an outdoor system is mostly about consistency, and consistency is hard when life gets busy. If you'd rather not spend weekends on a ladder with a voltage tester, that's exactly the work we do. Lightscape Design & Installation offers a 20-year warranty, USA-made premium fixtures, and integrated LED technology with no bulbs to replace, all backed by a complimentary on-site consultation.
Frequently Asked Questions
How often should landscape lighting be inspected?
Plan on a full inspection twice a year, ideally in spring and fall, plus a quick walk-through after any major storm. Spring checks catch winter damage like cracked lenses, loose stakes, and corrosion from snowmelt. Fall checks focus on trimming vegetation, clearing debris, and verifying connections before freezing temperatures. Between those visits, a monthly glance at your system will catch flickering or dim fixtures early, before a small issue turns into a full transformer or wiring repair.
How do I troubleshoot flickering landscape lights?
Start at the fixture: swap the LED module or bulb to rule out a failing lamp. If the flicker continues, check the wiring connections at that fixture for loose or corroded wire nuts. Next, test voltage at the end of the run with a multimeter; low readings point to voltage drop on long cable runs or an overloaded transformer. Finally, inspect the transformer for a tripped breaker or a photocell that is cycling. Work from the fixture back to the transformer so you isolate the problem without disconnecting the whole system.
What is the best way to clean outdoor light lenses?
Turn the system off first, then wipe lenses with a soft microfiber cloth and a mild soap-and-water solution. Avoid abrasive pads, ammonia-based cleaners, and pressure washers, which scratch lens coatings and force moisture into the fixture housing. For stubborn buildup like pollen or hard-water spots, use a diluted vinegar solution and rinse with plain water. Dry the lens completely before restoring power. Cleaning twice a year keeps lumen output steady and prevents baked-on grime that dulls the beam spread.
Is it better to repair or replace old landscape lighting fixtures?
Repair makes sense when the fixture is structurally sound and only the lamp, socket, or gasket has failed. Replace when you see cracked housings, heavy corrosion, or a fixture that no longer holds its aiming angle. Older halogen fixtures are usually worth replacing with integrated LED models, which eliminate bulb changes and cut energy use. If several fixtures on the same run show the same failure, the problem is often the transformer or wiring rather than the fixtures themselves, so diagnose the system before buying replacements.