 blog
Five Front Yard Lighting Focal Points That Boost Curb Appeal
Last Updated: November 21, 2026
Quick Summary
The five best front yard lighting focal points, ranked by visual priority, are tree uplighting, front entry lighting, pathway and step lighting, architectural accents on the facade, and garden features or sculpture. Good front yard lighting creates a visual hierarchy from the street so the eye knows where to land first, second, and last.
- Make the statement tree the brightest element, brighter than the house behind it, to create depth.
- Place two or three narrow-beam uplights at the tree base, set back and aimed into the canopy.
- Keep entry fixtures shielded and aimed down at the door, not outward into visitors' eyes.
- Space pathway fixtures so light pools overlap slightly, and keep them dimmer than focal points.
- Wall wash from 18 to 36 inches off the wall; graze from within 6 to 12 inches.
Table of Contents
- Why Front Yard Lighting Focal Points Matter More Than Fixture Count
- 1. Tree Uplighting: The Statement Tree as Your First Focal Point
- 2. Front Entry Lighting That Welcomes Without Glare
- 3. Pathway and Step Lighting That Guides the Eye Safely
- 4. Architectural Accents on the Facade and Exterior Details
- 5. Garden Features, Sculpture, and Flower Beds as Supporting Focal Points
- Landscape Lighting Ideas for Front of House: Combining All Five Focal Points
- Frequently Asked Questions
Why Front Yard Lighting Focal Points Matter More Than Fixture Count
A front yard dotted with twenty small lights can look busier than a yard with five well-placed ones. The difference is hierarchy. Front yard lighting works when the eye knows where to land first, second, and last. The core argument of this guide is that the best lighting focal points for front yards are not the brightest or the most numerous, they are the five that create a visual hierarchy from the street.
Front yard lighting is the deliberate placement of fixtures to highlight a home's most important features after dark, guiding the eye from the street to the door. Get the hierarchy right and curb appeal rises. Get it wrong and you get glare, clutter, and a house that looks smaller at night than it does by day.
Below, we rank five focal points in order of visual priority, with placement, beam, and aiming guidance for each. The guidance follows general lighting design practice, including the Illuminating Engineering Society's recommended practice for outdoor environments on controlling light distribution and glare.
1. Tree Uplighting: The Statement Tree as Your First Focal Point
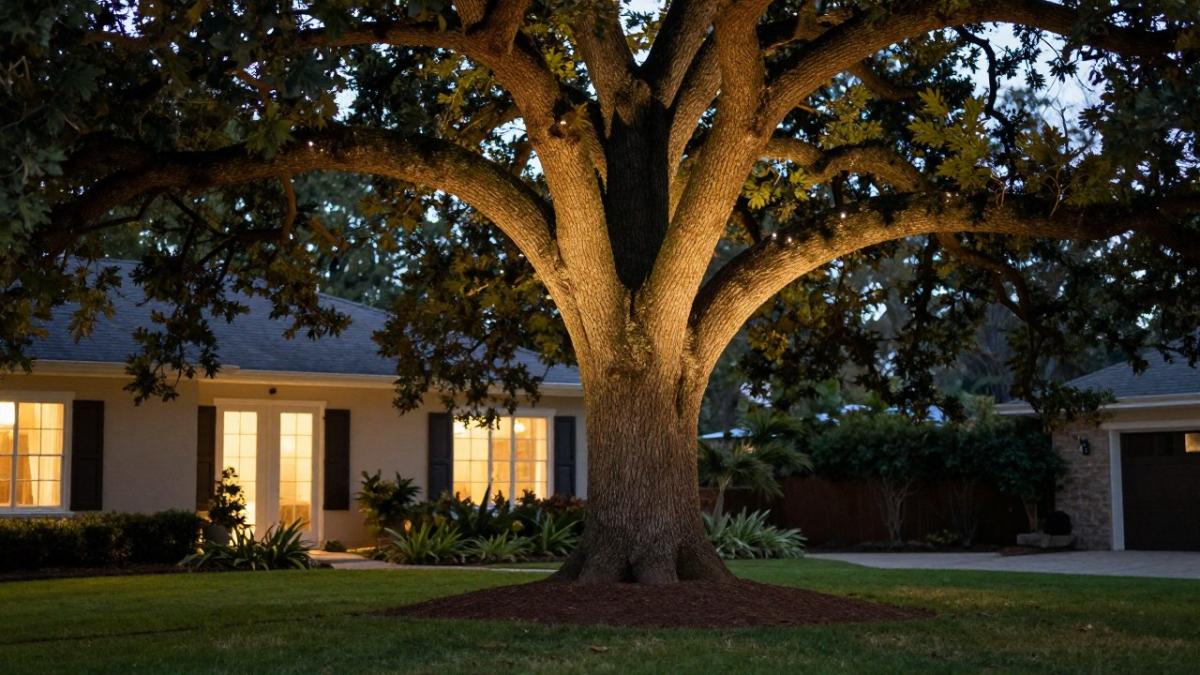
Tree uplighting is the practice of aiming fixtures upward at a specimen tree to reveal its trunk, branch structure, and canopy against the night sky. It earns the top spot because a single well-lit tree does more for depth and drama than any other element in the yard.
Start with one statement tree, not five. Place two or three uplights at the base, set back from the trunk and aimed into the canopy. A narrow beam keeps light on the tree instead of spilling onto the lawn; a wider beam washes the crown. Aim across the trunk rather than straight up it to catch bark texture.
What most guides miss is that the tree should read as the brightest element in the composition, brighter than the house behind it. That contrast is what creates depth. Our team sizes beam spreads and wattages to each tree's shape, and our tree uplighting options guide walks through beam angles, lumen output, and color temperature in detail.
2. Front Entry Lighting That Welcomes Without Glare
Front entry lighting is the controlled illumination of the door, steps, and surrounding facade so guests can see the entrance clearly without being blinded by it. It is the second focal point because it carries both beauty and safety.
A common mistake is a fixture mounted too high or aimed outward, throwing light into the visitor's eyes instead of onto the door. Keep light on vertical surfaces: the door, the surround, the house number. A warm, moderate output reads welcoming; a cold, high-output fixture reads institutional.
Watch out: an unshielded fixture pointed at the street creates light spill that annoys neighbors and flattens the facade. Shielded, downward-aimed fixtures solve both problems. If glare has been an issue at your entry, our guide to avoiding harsh outdoor lighting glare covers shielding and aiming techniques.
3. Pathway and Step Lighting That Guides the Eye Safely
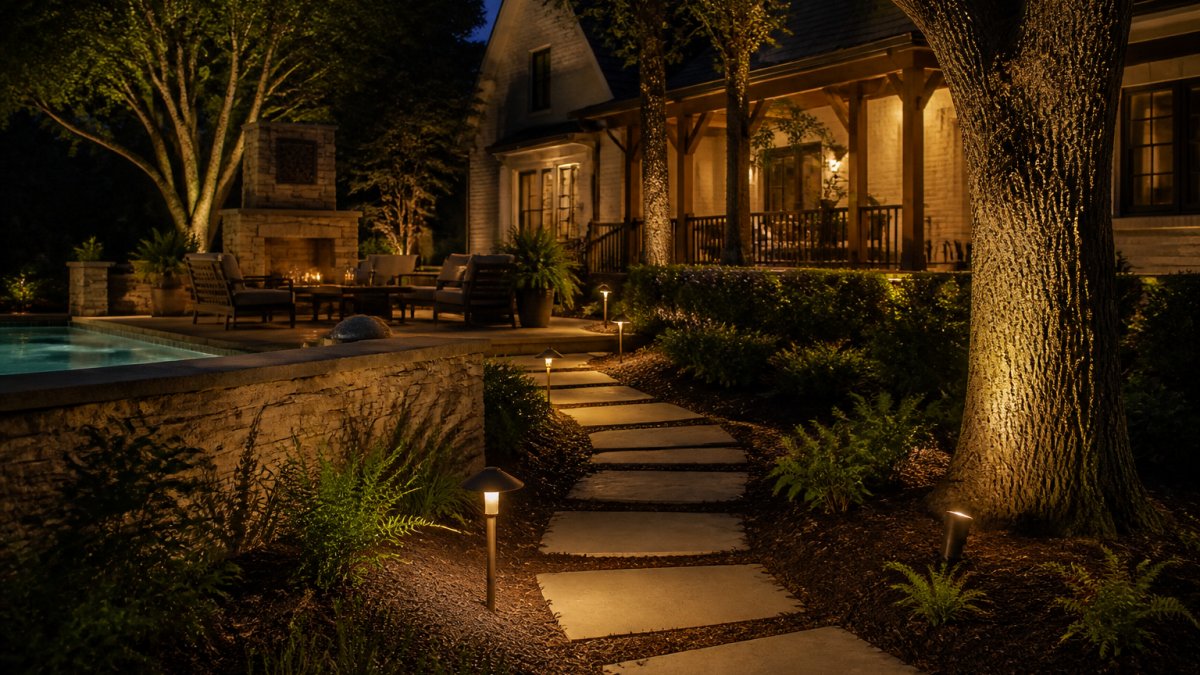
Pathway and step lighting marks the route from the driveway or sidewalk to the door, and it is the third focal point because it connects the composition. It should never compete with the tree or the entry.
Space fixtures so pools of light overlap slightly, then stop. More fixtures do not mean better guidance; evenly spaced, low-output lights do. On steps, place light to the side so treads are visible without glare at eye level. Keep pathway fixtures lower in brightness than your focal points, and aim them down at the walking surface.
Path lighting is also where installation quality shows. Fixtures must sit level, connections must be waterproof, and wire runs must be buried properly. Our step-by-step path light installation guide covers placement and spacing if you are planning the layout yourself, and our Pathway & Safety Lighting service handles the full design and installation when you would rather leave it to the pros.
4. Architectural Accents on the Facade and Exterior Details
Architectural accent lighting highlights the vertical surfaces and exterior details of the house itself: gables, columns, stone texture, and rooflines. It ranks fourth because it frames the home rather than leading the eye, but it is the layer that makes the house read as a complete composition from the street rather than a tree with a door behind it.
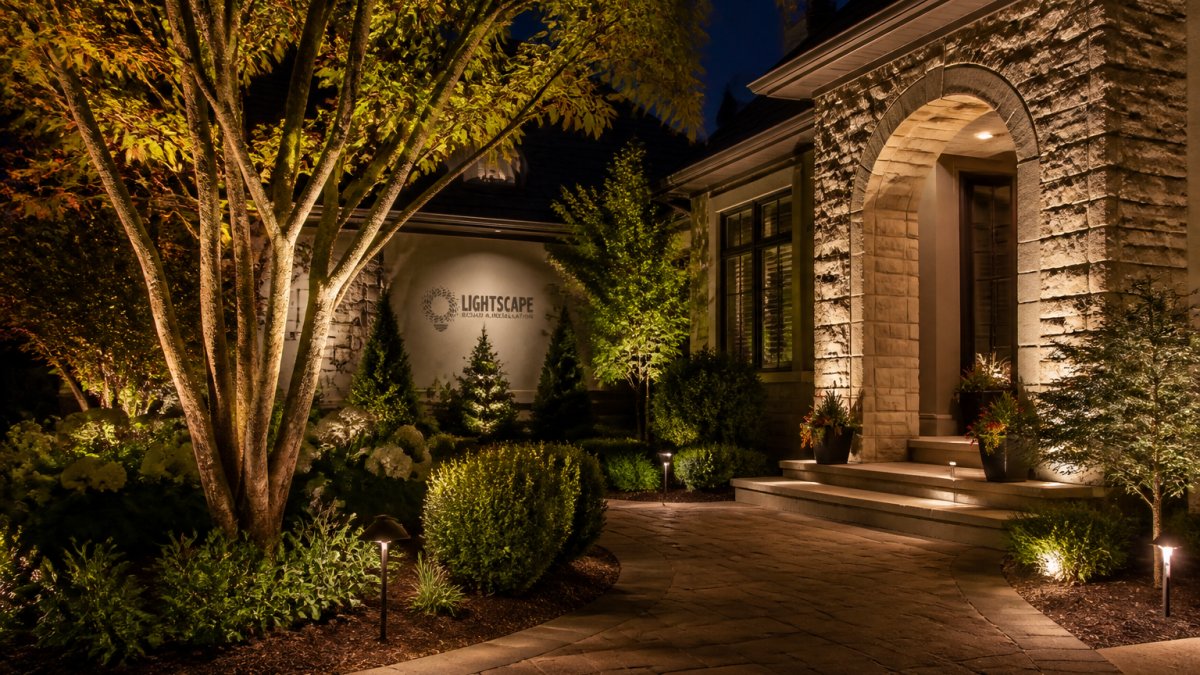
Wall washing and grazing are the two techniques to know, and the difference is distance. Wall washing places fixtures roughly 18 to 36 inches off the wall and aims them straight at the surface for an even, shadow-free wash that flattens texture and makes a facade look larger. Grazing places fixtures within 6 to 12 inches of the wall and aims them nearly parallel to the surface so every stone, brick, and board casts a small shadow that reveals texture.
Beam angle matters as much as distance. A narrow beam concentrates light on a column or a gable peak; a wide beam spreads across a long wall. For most residential facades, a beam in the 30- to 60-degree range covers a single story cleanly, while tighter beams suit tall columns and wider beams suit long, low walls.
Color temperature should match the rest of the system. A warm white in the 2700K to 3000K range flatters stone, brick, and painted wood and keeps the facade from looking cold or institutional next to the warmer tree and entry layers.
Watch out: an unshielded or upward-aimed facade fixture throws light into the sky, washes out the roofline, and spills onto neighboring properties. Shielded, downward-aimed fixtures with a controlled beam solve all three problems at once and keep the lighting neighbor-friendly.
Durability is the quiet variable on facade work. Our team sizes beam spreads and wattages to each surface, and our breakdown of seven signs facade lighting is worth the investment explains how professional placement delivers lasting curb appeal.
5. Garden Features, Sculpture, and Flower Beds as Supporting Focal Points
Garden features, sculpture, and flower beds are the supporting cast: they add color, texture, and small moments of interest between the major focal points.
Light a statue or garden sculpture from one side at a low angle to create shadow and form. A single fixture placed low and off to one side reads more dramatic than two fixtures flanking the piece, which flattens it into a silhouette.
In flower beds, use small, shielded fixtures to graze colorful plantings without hot spots. The goal is a soft glow that reveals leaf texture and flower color, not a spotlight that bleaches petals.
Color rendering is the detail that separates a garden that looks alive at night from one that looks gray. A high color-rendering index (CRI) in the 80s or above lets reds, yellows, and greens read true under LED light, which matters most in beds with colorful annuals or variegated foliage.
Watch out: small unshielded fixtures aimed outward throw glare at eye level and spill light onto the lawn, the street, and neighboring properties.
Maintenance is part of the design. Beds change with the seasons, so fixtures set at a fixed height can end up buried under mulch or hidden by summer growth. Our article on layering light in garden beds explains how depth and drama come from restraint.
Landscape Lighting Ideas for Front of House: Combining All Five Focal Points
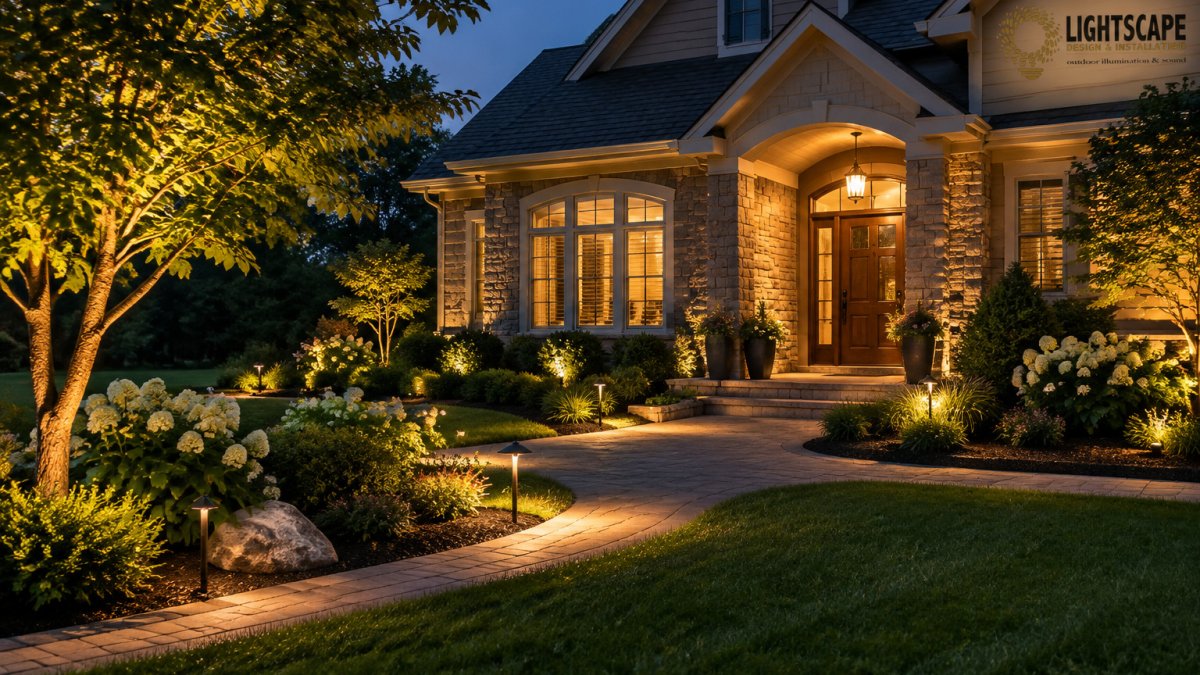
The five focal points work as a system, not a checklist. Rank them, then balance brightness so the hierarchy holds from the street.
| Priority | Focal Point | Placement Focus | Beam and Aim | Brightness Role |
|---|---|---|---|---|
| 1 | Tree uplighting | Base of statement tree, set back | Narrow beam into canopy | Brightest element |
| 2 | Front entry | Door and surround, shielded | Downward, on vertical surface | Warm and moderate |
| 3 | Pathway and steps | Along walk, beside treads | Down at walking surface | Lower than focal points |
| 4 | Facade accents | Close to wall for grazing | Skim surface, top darker | Frames the home |
| 5 | Garden features | One side, low angle | Graze plantings and sculpture | Subtle fill |
A simple layout plan starts with the tree, adds the entry, connects them with the path, then fills in facade and garden layers. Keep color temperature consistent across all fixtures so the yard reads as one composition, and choose integrated LED fixtures with no bulbs to replace for long-term reliability.
Best for: homeowners who want a designed, layered look. Skip if: you only need a single safety light at the door, in which case start there and build later.
In practice, the difference between a good plan and a great result comes down to professional aiming after dark. Lightscape offers a complimentary consultation and nighttime lighting demonstration.
Your front yard has one chance to make the right first impression after dark. If you are ready to move past guesswork and see your property lit the way it deserves, Lightscape Design & Installation can help. Lightscape designs and installs custom systems with USA-made fixtures, integrated LED technology, and a 20-year limited fixture warranty, and handles everything from the complimentary on-site consultation to final aiming. Get started with Lightscape Design & Installation and schedule a nighttime lighting demonstration at our contact page.
Frequently Asked Questions
What are the best focal points to light in a front yard?
Start with the features that already draw the eye during the day: a specimen tree, the front entry, the walkway and steps, and the strongest architectural details on the facade. A garden sculpture, water feature, or colorful flower bed can serve as a supporting focal point. The goal is a clear visual hierarchy, where one or two elements lead and the rest recede. A professional front yard lighting plan ranks these features first, then assigns fixtures, beam spreads, and wattages to each one so the composition reads cleanly from the street.
Where should lights be placed to highlight a front yard tree?
Place uplights at the base of the trunk, aimed up into the canopy, offset slightly so the trunk does not block the beam. For a wide canopy, two or more fixtures set a few feet apart create even coverage. Narrow beam spreads suit tall trees, while wider spreads work for lower, spreading canopies. Keep fixtures out of the lawn-mower path and concealed in mulch or planting. Tree uplighting works best when the beam stops within the canopy, which limits light spill and keeps the effect natural rather than floodlit.
How do you light a front entry without creating glare?
Front entry lighting should illuminate the door, surround, and house numbers without shining into anyone's eyes. Aim fixtures at vertical surfaces rather than outward, use shielded or baffled fixtures, and keep the light color consistent with the rest of the design. Wall washing or grazing across the door surround creates depth and highlights exterior details. A warm, consistent color temperature makes the entry feel welcoming. The test is simple: stand at the street and at the door. If you see the light source itself, the fixture needs re-aiming or a different shield.
How many landscape lights should a front yard have?
There is no fixed count. The number depends on the focal points you choose, the size of the trees and facade, and how much layering the design needs. A focused plan might use a handful of well-aimed fixtures rather than dozens of evenly spaced ones. More fixtures do not automatically mean better curb appeal; poorly aimed light creates glare and clutter. A professional design starts with the five focal points, assigns the minimum fixtures each one needs, then adds layers only where they improve depth and balance.