 how-to
Landscape Lighting Design for Your Home
Table of Contents
- Why Landscape Lighting Design Matters for Your Property
- Professional Landscape Lighting Design: What Sets It Apart
- Pathway and Step Lighting for Safety and Elegance
- Tree Uplighting and Architectural Focal Points
- Integrated LED Landscape Lighting: Technology That Lasts
- The Installation Process and Long-Term Maintenance
- How to Get Started With Professional Lighting Design
- Frequently Asked Questions
Last Updated: October 15, 2026
Why Landscape Lighting Design Matters for Your Property
A well-designed landscape lighting system transforms your home after dark, revealing architectural details that disappear in daylight, guiding visitors safely along pathways, and extending outdoor living into the evening. At Lightscape Design & Installation, we help homeowners understand that landscape lighting design is not simply about brightness, it's about intentional placement, fixture selection, and layered illumination that creates depth and visual interest.
Most homeowners underestimate how dramatically professional landscape lighting design enhances curb appeal and functionality. When trees are uplighted, architectural features are highlighted, and pathways are safely illuminated, your property gains presence and character.
Arriving home after sunset, a property with no outdoor lighting feels incomplete and potentially unsafe, while one with professional landscape lighting design feels intentional, welcoming, and secure, a transformation that adds real value in how you experience your home and how buyers perceive it.
Professional Landscape Lighting Design: What Sets It Apart
Professional landscape lighting design differs fundamentally from standard outdoor lighting. Rather than placing fixtures randomly or relying on bright floodlights, professional designers think about layers, focal points, and how light interacts with your landscape.
A professional approach begins with an on-site consultation where a designer evaluates your architecture, tree canopy, hardscape, and how you use your outdoor spaces. That assessment informs fixture placement, beam spread, color temperature, and intensity, creating a cohesive plan that feels natural, never harsh or overly bright.
We prioritize USA-made fixtures with integrated LED technology, no replaceable bulbs, consistent light output over decades, and none of the seasonal replacement burden. Our fixtures are engineered for customized wattages and beam spreads, giving precise control over how light falls on specific features, a level of customization rarely found off the shelf.
Professional installation also ensures proper electrical integration, correct wire gauging, and safe placement that accounts for foot traffic, water features, and future landscape changes. Our team manages grading, trenching, and final aiming, the detailed work that determines whether your lighting plan delivers the intended effect.
Pathway and Step Lighting for Safety and Elegance
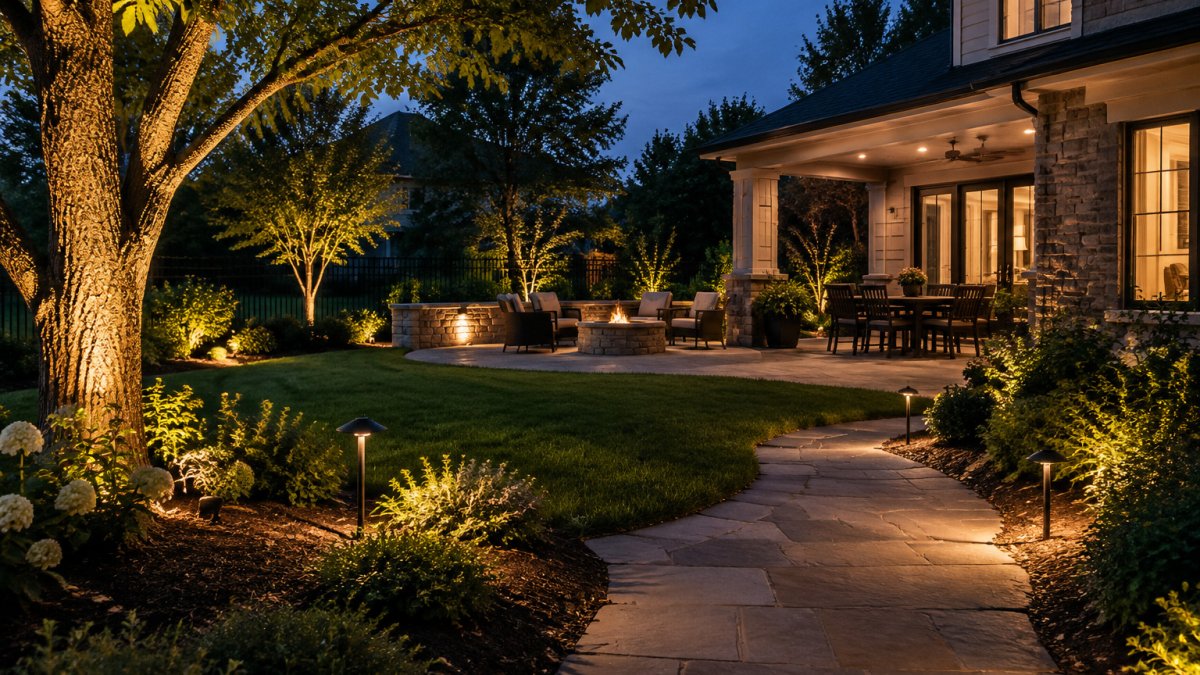
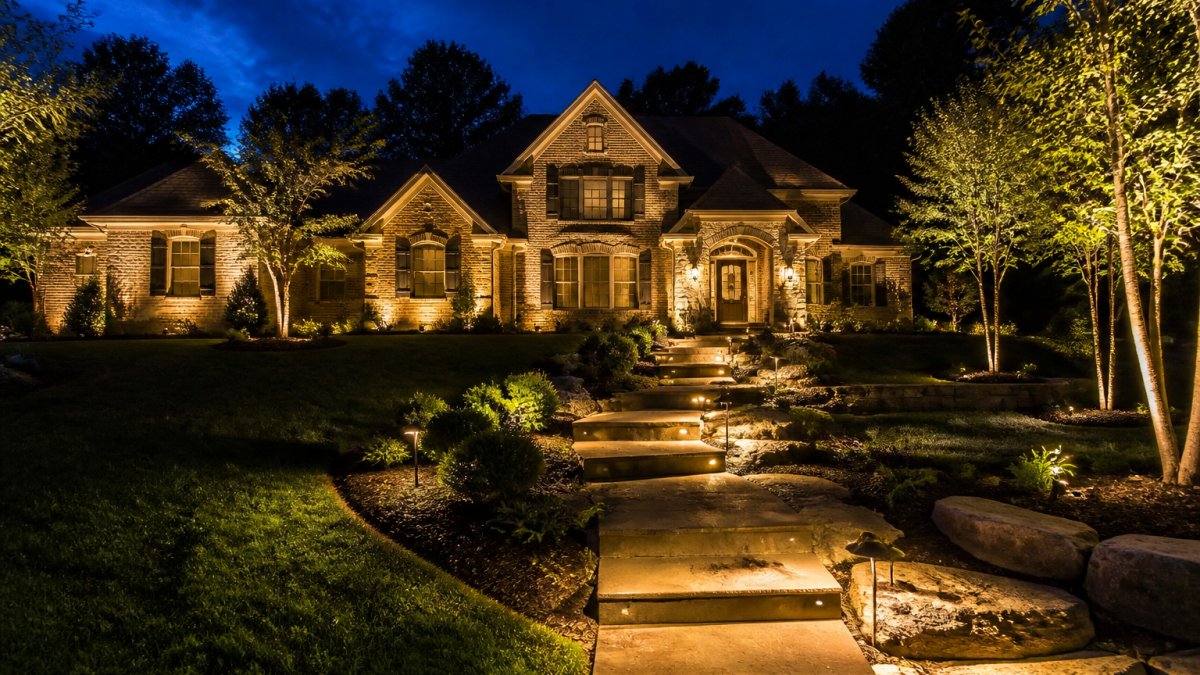
Pathway and step lighting serves dual purposes: it prevents trips and falls while adding visual definition to your landscape. A well-lit pathway is safer and more inviting than one shrouded in darkness.
Effective Pathway & Safety Lighting uses lower-intensity, downward-facing fixtures that illuminate the walking surface without glare. Step lighting along stairs or deck steps adds both safety and aesthetic appeal, subtle enough to feel natural, bright enough to ensure visibility.
Fixture placement matters enormously: lights too close together create a runway effect, while spacing them too far apart leaves shadowy gaps. Professional designers adjust spacing based on the path's width, the surrounding landscape, and how the lighting reads from different angles.
Many homeowners ask whether pathway lighting can be added later. Yes, though planning it during initial design is simpler and more cost-effective; retrofitting requires trenching and integration with existing systems.
Tree Uplighting and Architectural Focal Points
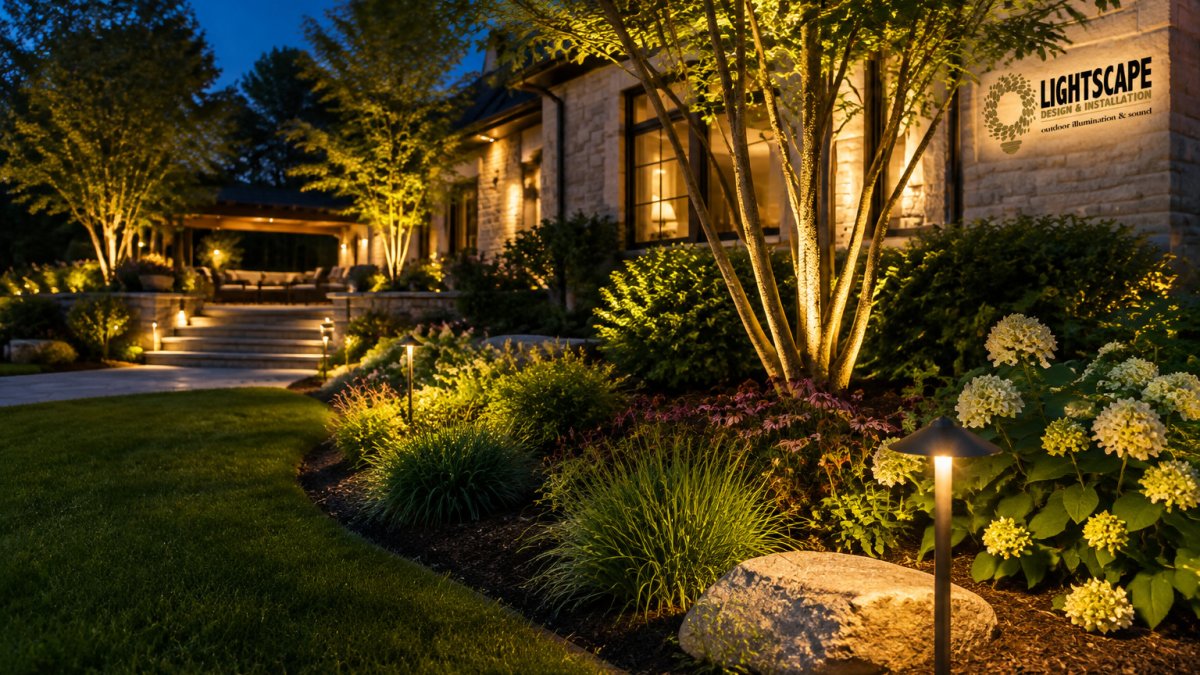
Tree uplighting is one of the most transformative applications of professional landscape lighting design, revealing canopy structure, creating dramatic shadows, and adding vertical dimension to your nighttime landscape.
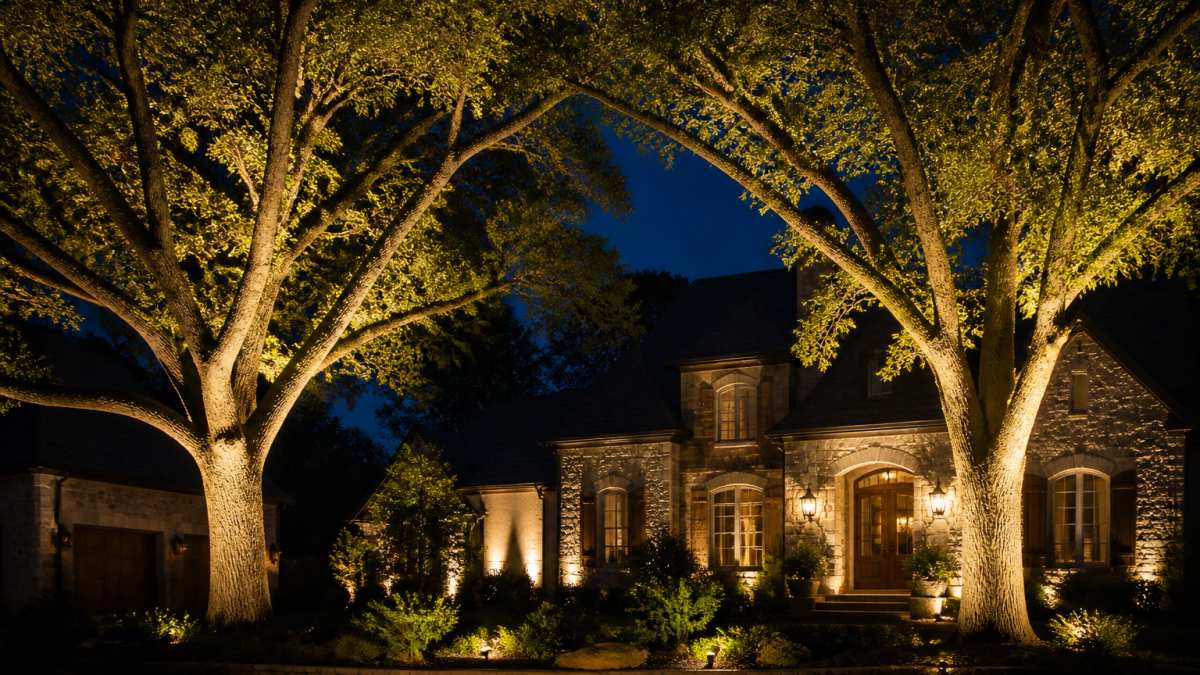
The key is fixture placement and beam angle selection. Lights positioned at the base of the tree and angled upward create natural-looking illumination that mimics moonlight filtering through branches, while the warm color temperature of professional LED fixtures keeps uplighting organic rather than artificial or harsh.
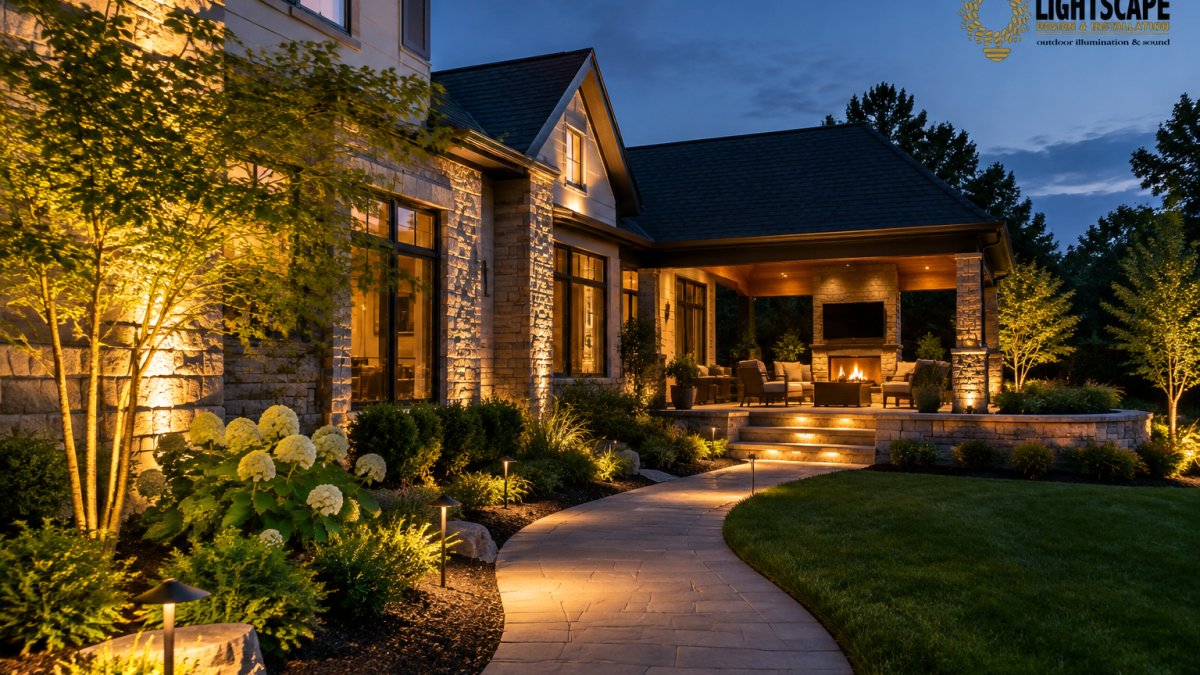
Architectural focal points, stone facades, columns, decorative brickwork, benefit from accent lighting that emphasizes texture and detail. Grazing light across a textured surface creates visual interest and depth, highlighting the architectural character that defines your home's identity. Our Architectural Outdoor Lighting and Hardscape Lighting Design & Installation services are specifically designed to showcase these distinctive features with precision and elegance.
Many homeowners worry that tree uplighting will look artificial or overly bright. The difference lies in fixture selection and wattage. Professional-grade fixtures with integrated LED technology and customized beam spreads create controlled, warm illumination that enhances rather than overwhelms.
Integrated LED Landscape Lighting: Technology That Lasts
Integrated LED technology represents a significant advancement in outdoor lighting reliability and longevity. Unlike traditional fixtures with replaceable bulbs, integrated LED fixtures have the LEDs permanently built in, eliminating bulb failures, reducing maintenance, and ensuring consistent light output throughout the fixture's lifespan.
The benefits extend beyond convenience. Integrated LEDs run cooler, reducing heat stress on components and extending system life, and they deliver superior color consistency, warm, neutral white light that stays stable year after year without the color drift common in older systems.
Customizable wattage and beam spread options matter significantly, since different areas require different intensities, a tree uplighting application might use lower wattage, while pathway lighting needs adequate brightness for safety. Professional designers specify fixtures that match each application's actual needs rather than oversized fixtures that waste energy and create glare.
Our fixtures come with a 20-year limited warranty, reflecting our confidence in their durability and performance through seasons of weather, temperature fluctuations, and normal use.
The Installation Process and Long-Term Maintenance
Professional installation is where a lighting plan either becomes a system that runs quietly for decades or a collection of fixtures that never quite works right. Understanding the sequence helps you know what to expect on installation day.
Step 1: Design finalization and fixture staging. Before any digging, the designer confirms the plan against the actual property, flagging fixture locations, verifying sightlines from the street, driveway, patio, and key interior windows, and confirming each fixture's wattage and beam spread matches its target.
Step 2: Transformer sizing and circuit planning. Low-voltage systems run on 12 or 15 volts, and the transformer must be sized with headroom, typically 20 to 30 percent above the connected load, so the system isn't maxed out from day one.
Request a Lighting Consultation Today →
Step 3: Trenching and cable routing. Cable is buried shallow, commonly 6 to 12 inches for low-voltage runs, deeper under driveways or areas with foot traffic or aeration.
Step 4: Fixture mounting and aiming. Fixtures are set, then aimed at night, not in daylight, the only way to judge glare, shadow, and how light actually falls on a tree canopy or stone facade. A fixture rotated a few degrees can shift the entire effect.
Step 5: System commissioning. The transformer timer or photocell is set, zones are labeled, and the homeowner walks the property with the designer to confirm the result and learn how to adjust schedules seasonally.
What makes installation different on local properties. Many homes here sit on lots with mature oak, maple, and pine canopies, and those trees change the design math.
Long-term maintenance. A professionally installed system still benefits from a periodic walkthrough, ideally on this seasonal rhythm:
- Spring: inspect connections and transformer terminals after winter, check for cable heaves from freeze-thaw, clean lenses, and re-aim any fixtures shifted by frost or landscaping.
- Summer: trim foliage away from fixture heads, confirm timers still match sunset, and check for water intrusion after heavy storms.
- Fall: clear fallen leaves from fixtures and drains, verify all zones still light, and adjust schedules as days shorten.
- Winter: confirm the transformer and connections are handling cold and moisture, and watch for any fixture that flickers or dims, often the first sign of a failing connection.
Troubleshooting follows a predictable order: one fixture out means check its connection; a whole zone out means check the transformer circuit; dim or color-shifted fixtures suggest voltage drop or a corroded splice.
How to Get Started With Professional Lighting Design
Most homeowners know they want better outdoor lighting but aren't sure how to describe it, what to prioritize, or how to prepare. A little planning before the first consultation makes the process faster and the result better.
Start with a nighttime walk of your own property. After dark, walk from the street to your front door, then through the backyard.
Identify your priorities in order. Most projects fall into a few overlapping goals:
- Safety and navigation: pathway and step lighting, driveway edges, and any grade change or stair.
- Curb appeal and architecture: facade grazing, column accents, and highlighting distinctive materials like brick, stone, or stucco.
- Trees and landscape: uplighting mature trees, washing beds, and defining the edges of planting areas.
- Outdoor living: patios, pergolas, decks, and hardscape features, plus outdoor audio if you entertain.
Naming your top two or three priorities helps a designer allocate fixtures where they'll have the most impact rather than spreading light evenly and thinly.
Gather a few reference images. A handful of photos of lighting you like (and a couple you don't) communicates more than a paragraph of description.
Walk the property with the designer, at night if possible. A complimentary on-site consultation is where abstract ideas meet your actual trees, grades, and architecture. A designer assesses canopy density, sightlines from the street and inside the house, existing outlets and transformer placement options, and how your property reads from different angles.
Ask these questions during the consultation:
- How will the system be zoned, and can I run different areas on different schedules?
- What happens if a tree grows or a bed is replanted, how easily can fixtures be re-aimed or added?
- How is glare controlled so the lighting doesn't spill onto neighboring properties or into windows?
- What does maintenance actually involve, and how often should I expect to touch the system?
- What does the warranty cover, and for how long?
Prepare the property for installation. Once a plan is set, a few steps smooth the way: mark any irrigation lines, invisible fences, or buried utilities you know of; clear debris from planned fixture locations; and confirm access to the transformer outlet area.
Think about phasing. Not every property needs to be lit all at once. A common approach starts with the highest-impact areas, the front facade and main entry path, then adds tree uplighting, backyard, or hardscape zones later.
When you're ready, the next step is a complimentary consultation and, where possible, a nighttime lighting demonstration on your own property. Seeing the effect in person, on your trees, your facade, your path, is the clearest way to decide. You can request a consultation at lightscapestl.com.
Frequently Asked Questions
What are the main benefits of professional landscape lighting design?
Professional landscape lighting design elevates your home's curb appeal, improves safety by illuminating pathways and entry points, and extends the usability of outdoor living spaces into the evening. A well-designed system creates visual depth and highlights architectural features and landscaping that might otherwise disappear after dark. Unlike DIY or generic installations, professional design accounts for fixture placement, beam angles, and light color consistency to achieve balanced, elegant illumination that complements your property's character.
How does professional installation differ from DIY landscape lighting?
Professional installation includes custom design tailored to your property's layout, professional-grade USA-made fixtures with integrated LED technology, expert fixture placement for optimal coverage and aesthetics, and integrated systems that function as a cohesive whole. Professionals understand beam spreads, color temperature consistency, and how to work around obstacles like mature trees. They also manage electrical integration, warranty support, and long-term maintenance, ensuring your system performs reliably for years without the burden of troubleshooting or replacement.
How do professionals handle tree uplighting when large trees cast shadows?
Professional designers assess tree size, canopy density, and placement to position uplighting fixtures strategically. Rather than fighting shadows, skilled design works with them, using uplighting to graze the tree trunk and lower canopy, positioning fixtures to avoid direct sightlines, and layering light with adjacent pathway or accent lighting to create visual interest. The goal is elegant illumination that reveals the tree's structure without harsh, artificial brightness. This requires understanding fixture angles and wattage, which is why professional consultation matters.
What should I expect during a landscape lighting consultation?
A professional consultation begins with an on-site assessment of your property during daylight to understand layout, landscaping, and architectural features. The designer discusses your goals, safety, ambiance, focal points, and explains how different fixture types and placements achieve them. Many consultants provide a nighttime demonstration to show how lighting transforms your space after dark. You'll learn about integrated LED fixtures, warranties, maintenance needs, and the installation timeline. This is your opportunity to ask questions and ensure the design aligns with your vision before any commitment.
If you're ready to explore how professional landscape lighting design can enhance your property, contact Lightscape Design & Installation for a complimentary consultation and nighttime lighting demonstration. We serve homeowners throughout the St. Louis area and would welcome the opportunity to show you what's possible. Visit https://lightscapestl.com/contact-us to schedule your consultation today.